Installing the macOS Big Sur beta on a new partition
Our step-by-step guide

Big Sur has just been announced, and you‘re itching to give it a shot. But wait—you have plenty of apps to support and work to do. Is it worth the risk of things not working or crashing? Probably not. In this blog post, we are going to look into how to install the latest OS without disrupting your current setup.
Installing the profile
The first step is to go to the Apple Developer Portal and download the macOS Big Sur beta profile. Installing the profile will give us the ability to download the latest OS and put it on our hard disk of choice.
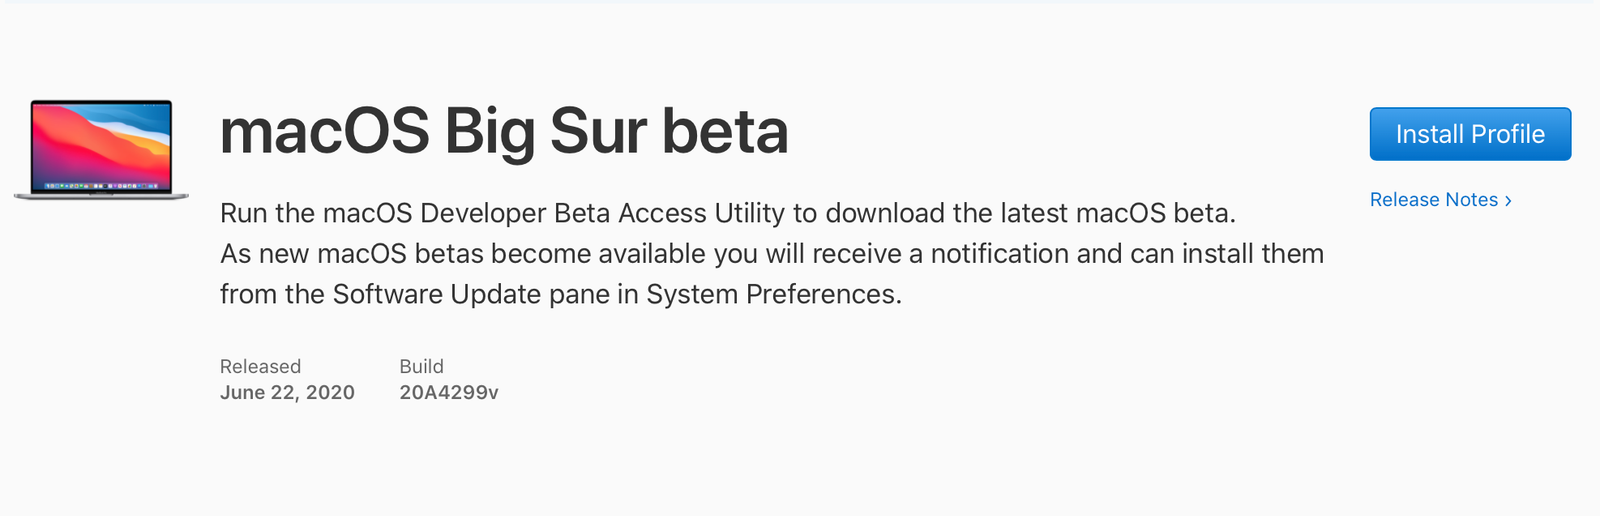
Once the download is completed, we‘re ready to prepare the partition where we will install it.
Creating a new partition
There are two potential ways to do this: creating a new volume, or creating a new partition. That said, there seems to be a small catch with creating a new volume, as seen in the tweet below, so we are going down the path of creating a new partition because of the potential upgrade issues.
This caveat is buried deeply enough in the macOS Big Sur release notes that a lot of people are going to be bit by it. Creating a new volume in an existing APFS container had become the de facto best way to install a second OS. pic.twitter.com/BscbELxj6Q
— Daniel Jalkut (@danielpunkass) June 23, 2020
The purpose of creating a new partition is so we can install the beta on our machine without disturbing our current OS and setup. As exciting as it may be to try out the latest OS, it‘s still in beta and can have unexpected results. By creating a new partition, we are creating a separate “bubble” to work in that doesn’t affect the current bubble that we use for work.
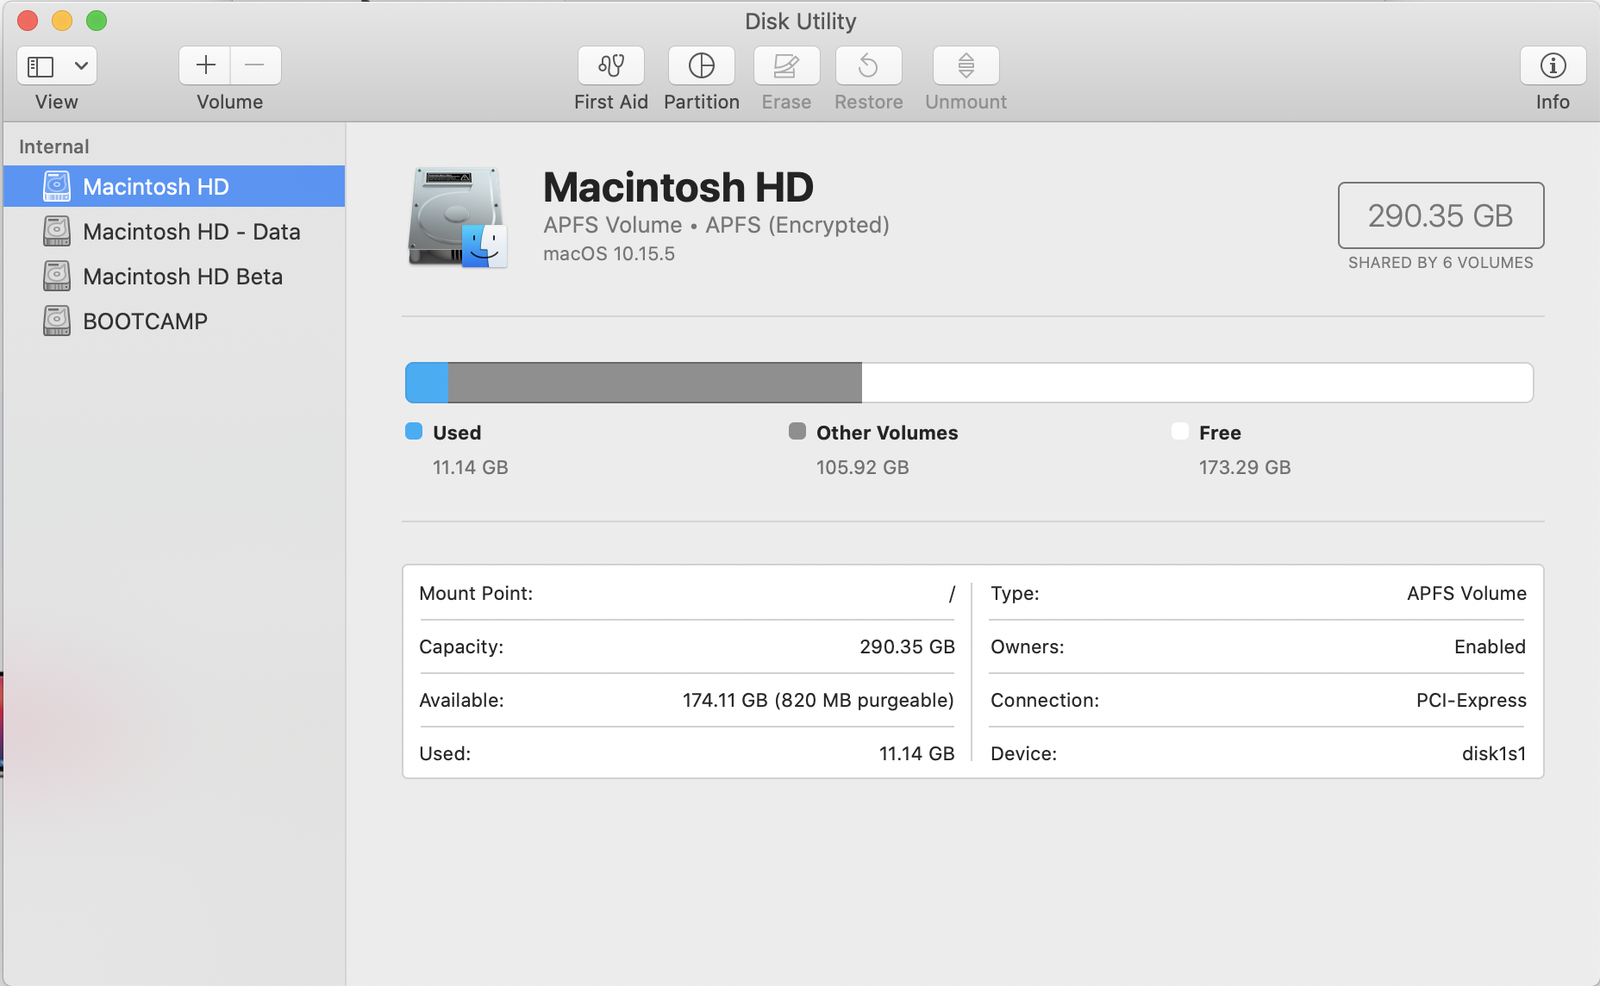
To create a new partition, launch Disk Utility and select the Partition button. From here we can press the + button to create a new partition

After that, all we need to do is provide a name and size for our partition. In the example below, we used the name Macintosh HD Beta and specified a size of 100GB for the partition.
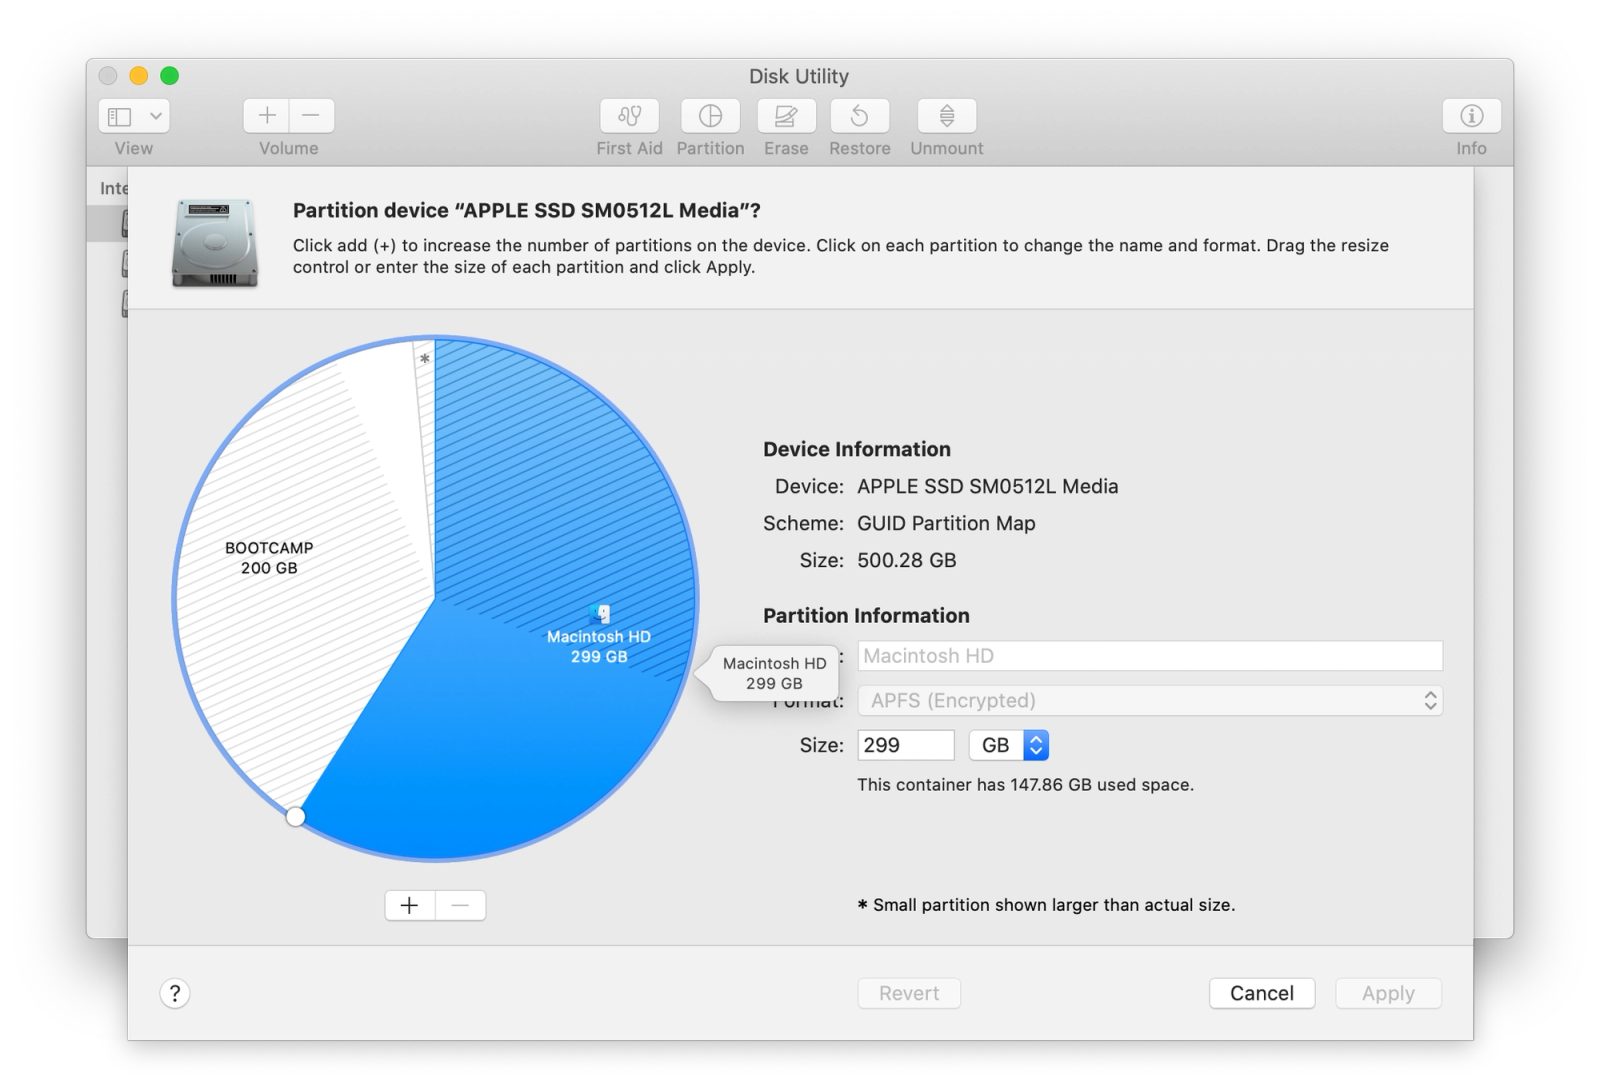
Press the + button to add a partition.
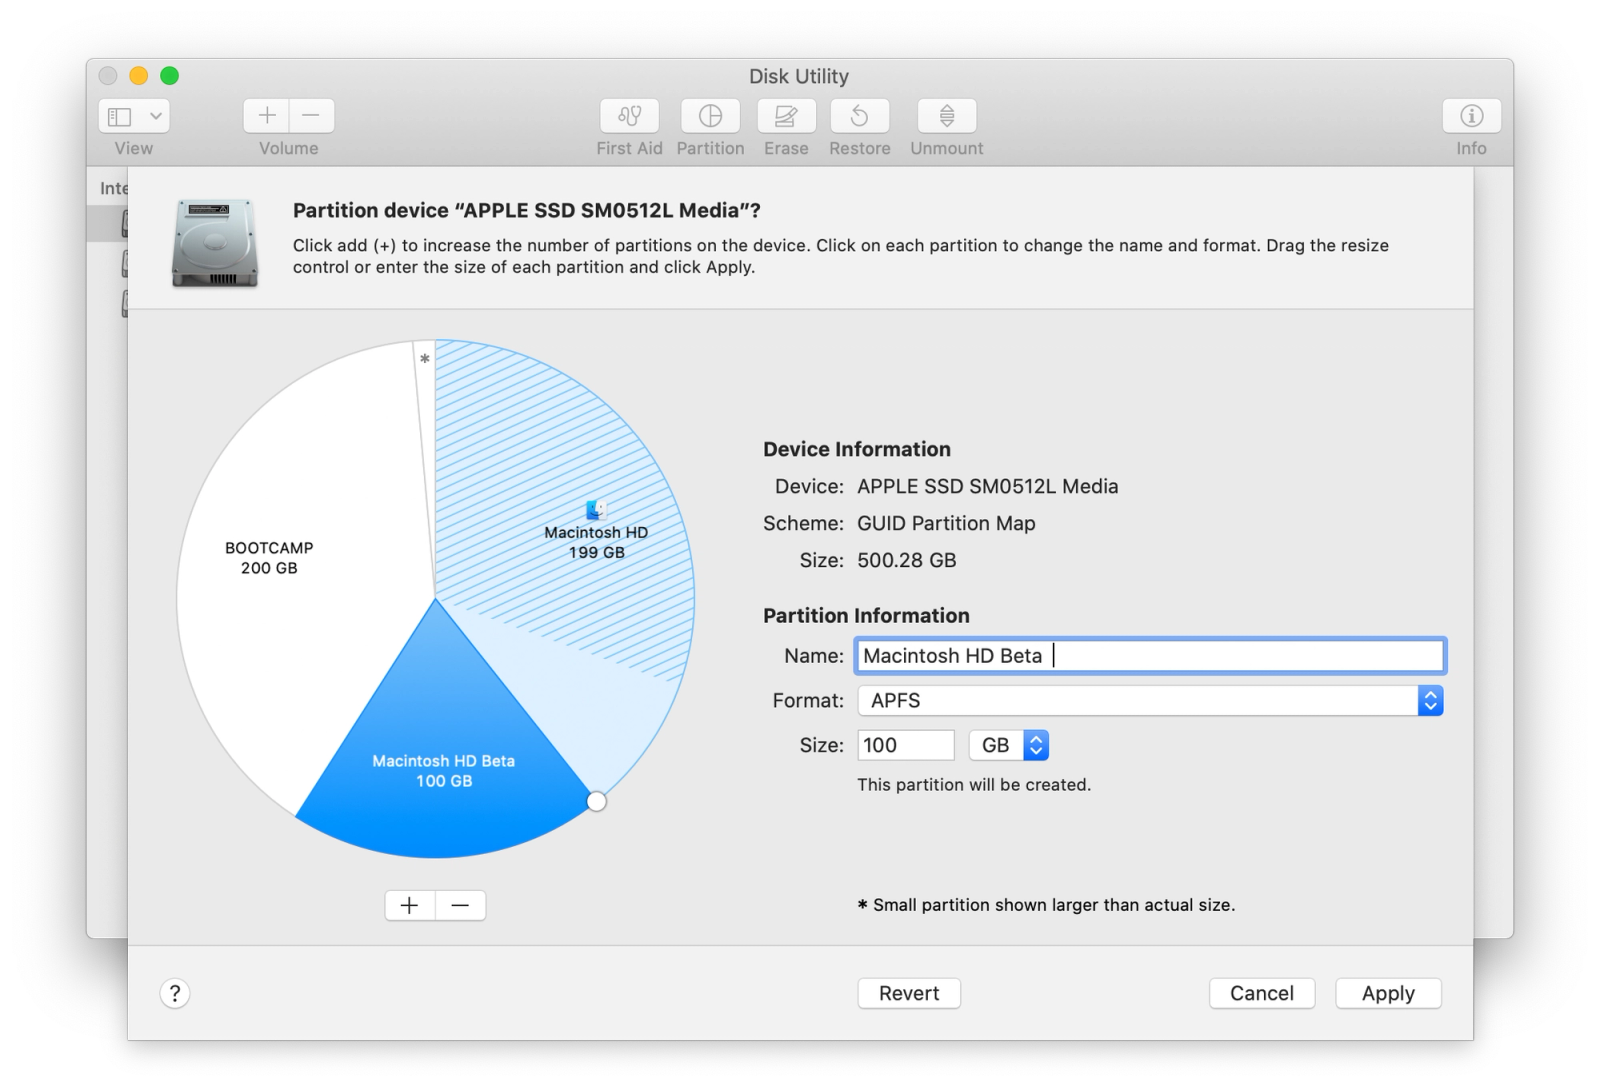
Specify the size and name of your partition and select apply.
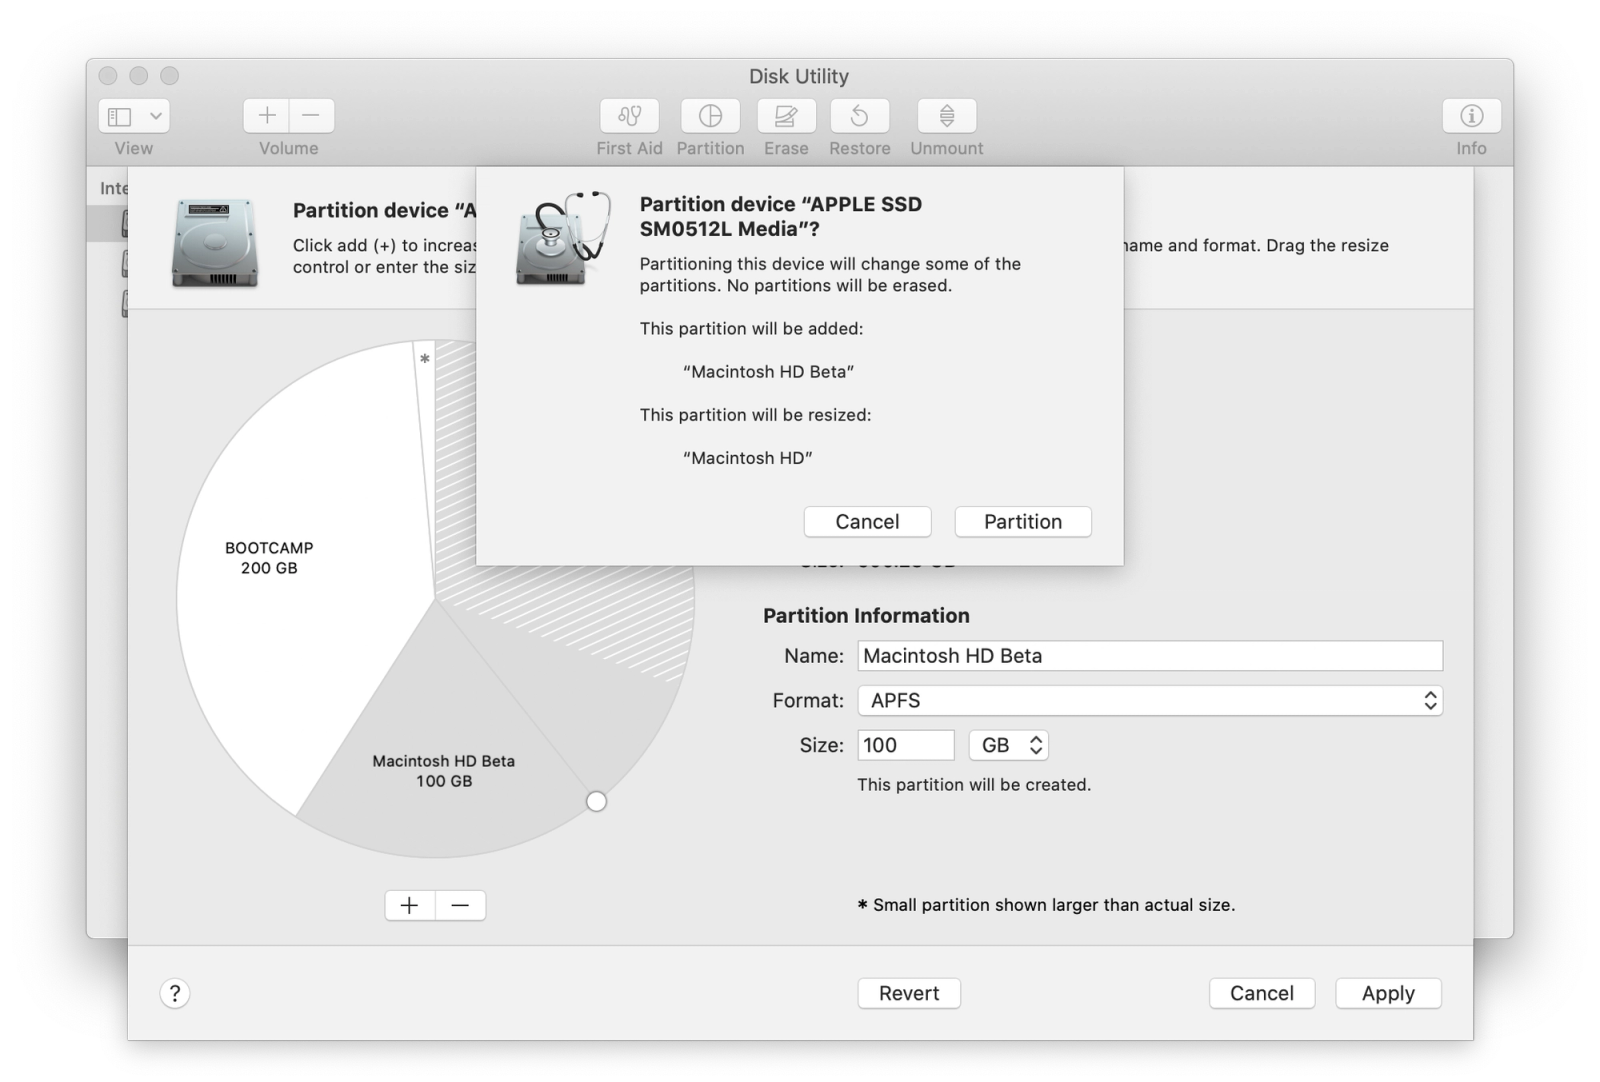
This alert shows you which partition will be added, and which partition will shrink to make room for it.
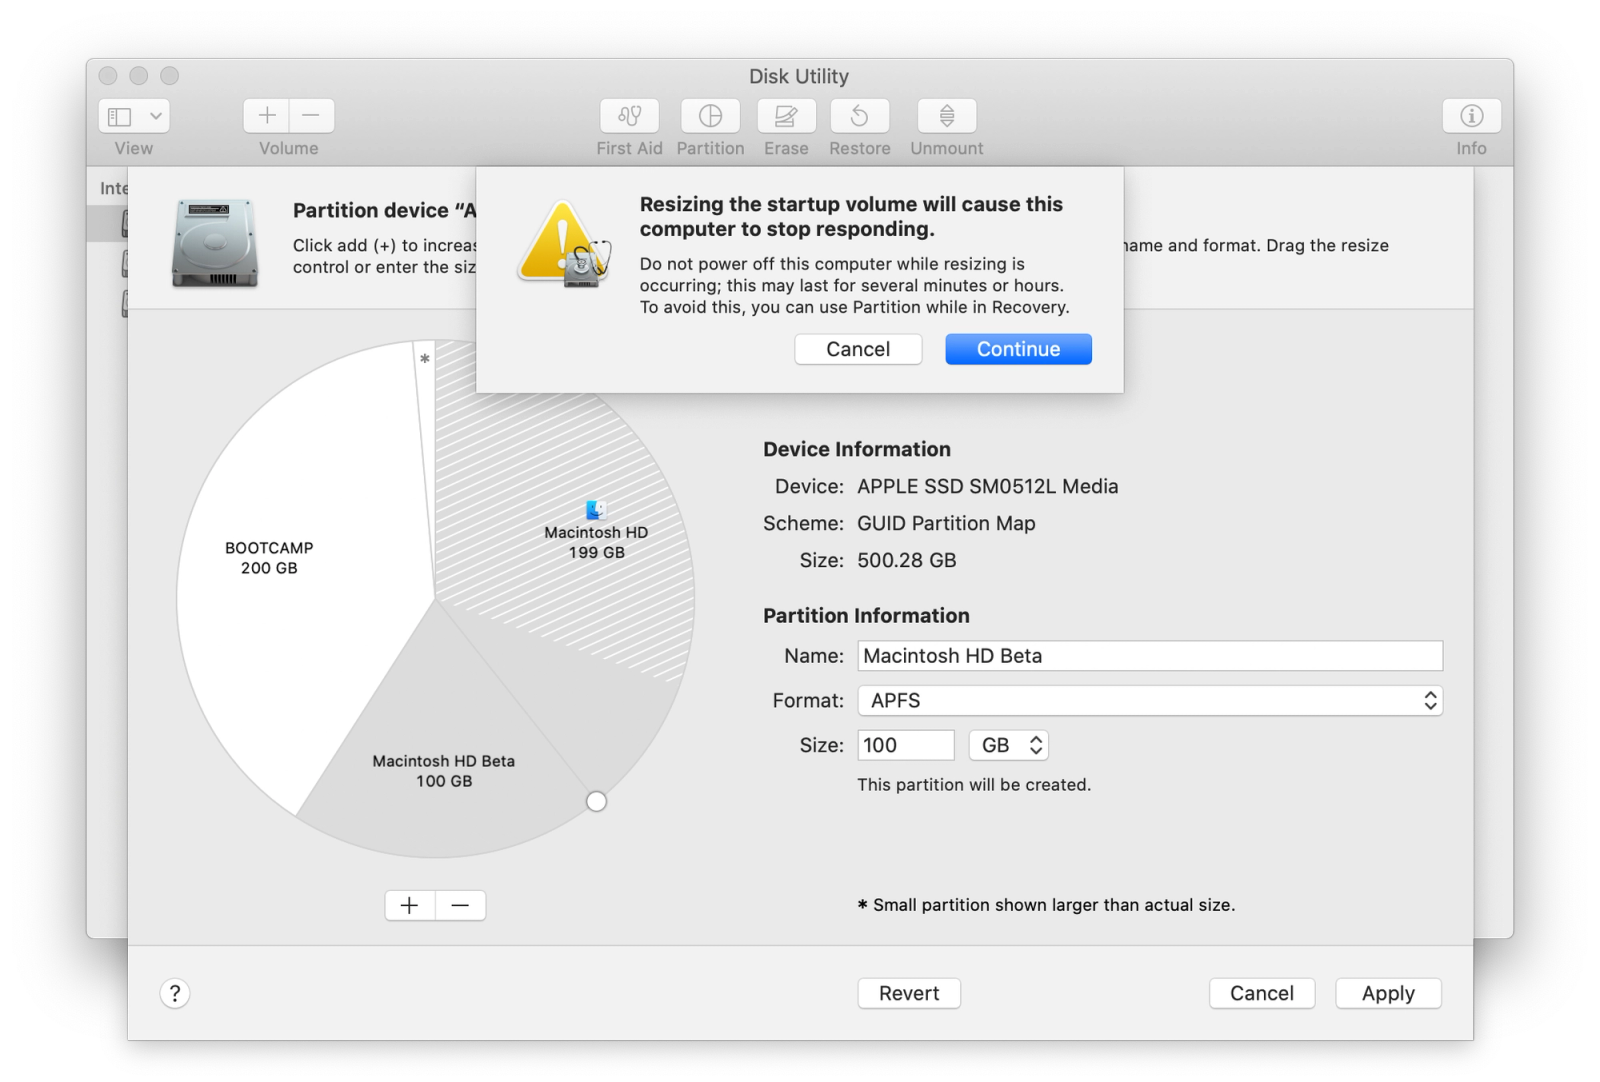
Select continue to begin partitioning your hard drive.
Once we apply the changes, our partitions will be resized in order to accommodate all partitions within our disk.
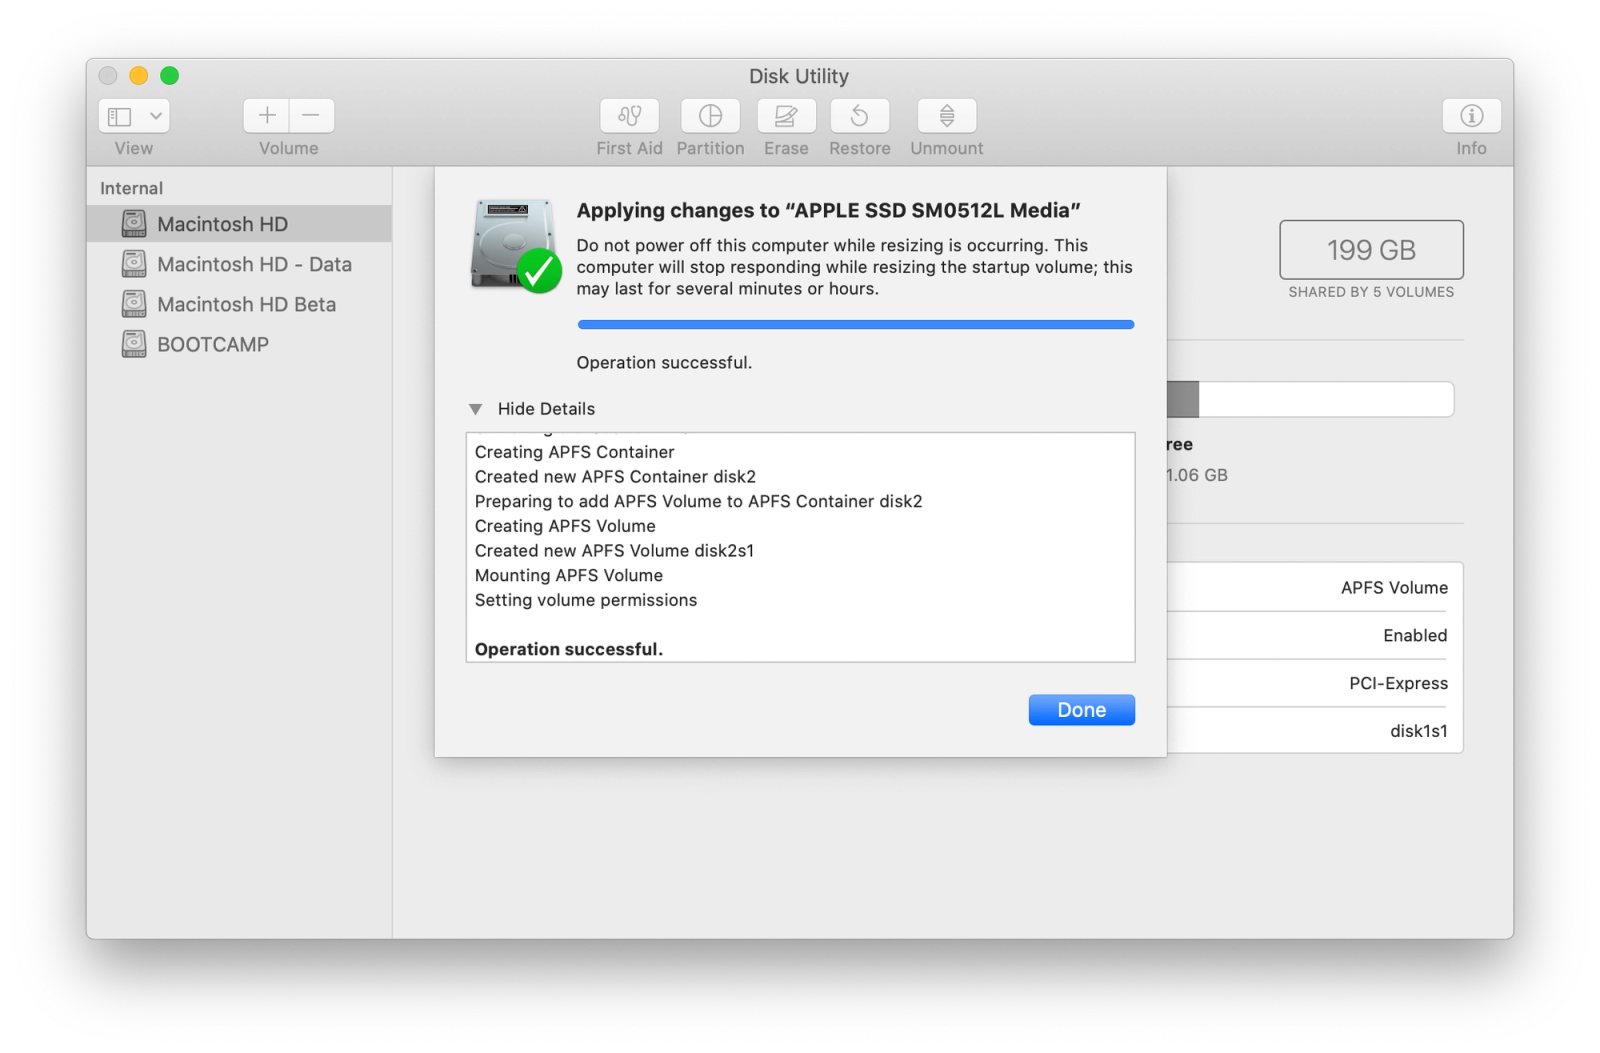
Once the partition has been added, it will show up in the menu on the left, as you can see in the screenshot below.
Installing Big Sur
Now that we have our new partition created, we‘re ready to install macOS Big Sur. At this point in the installation process, you should be at the screen where you need to select which hard drive to install on. This is where we select our newly created Macintosh HD Beta partition. To complete the install, perform the following steps:
- Select the Show All Disks button
- Select Macintosh HD Beta
- Select Install
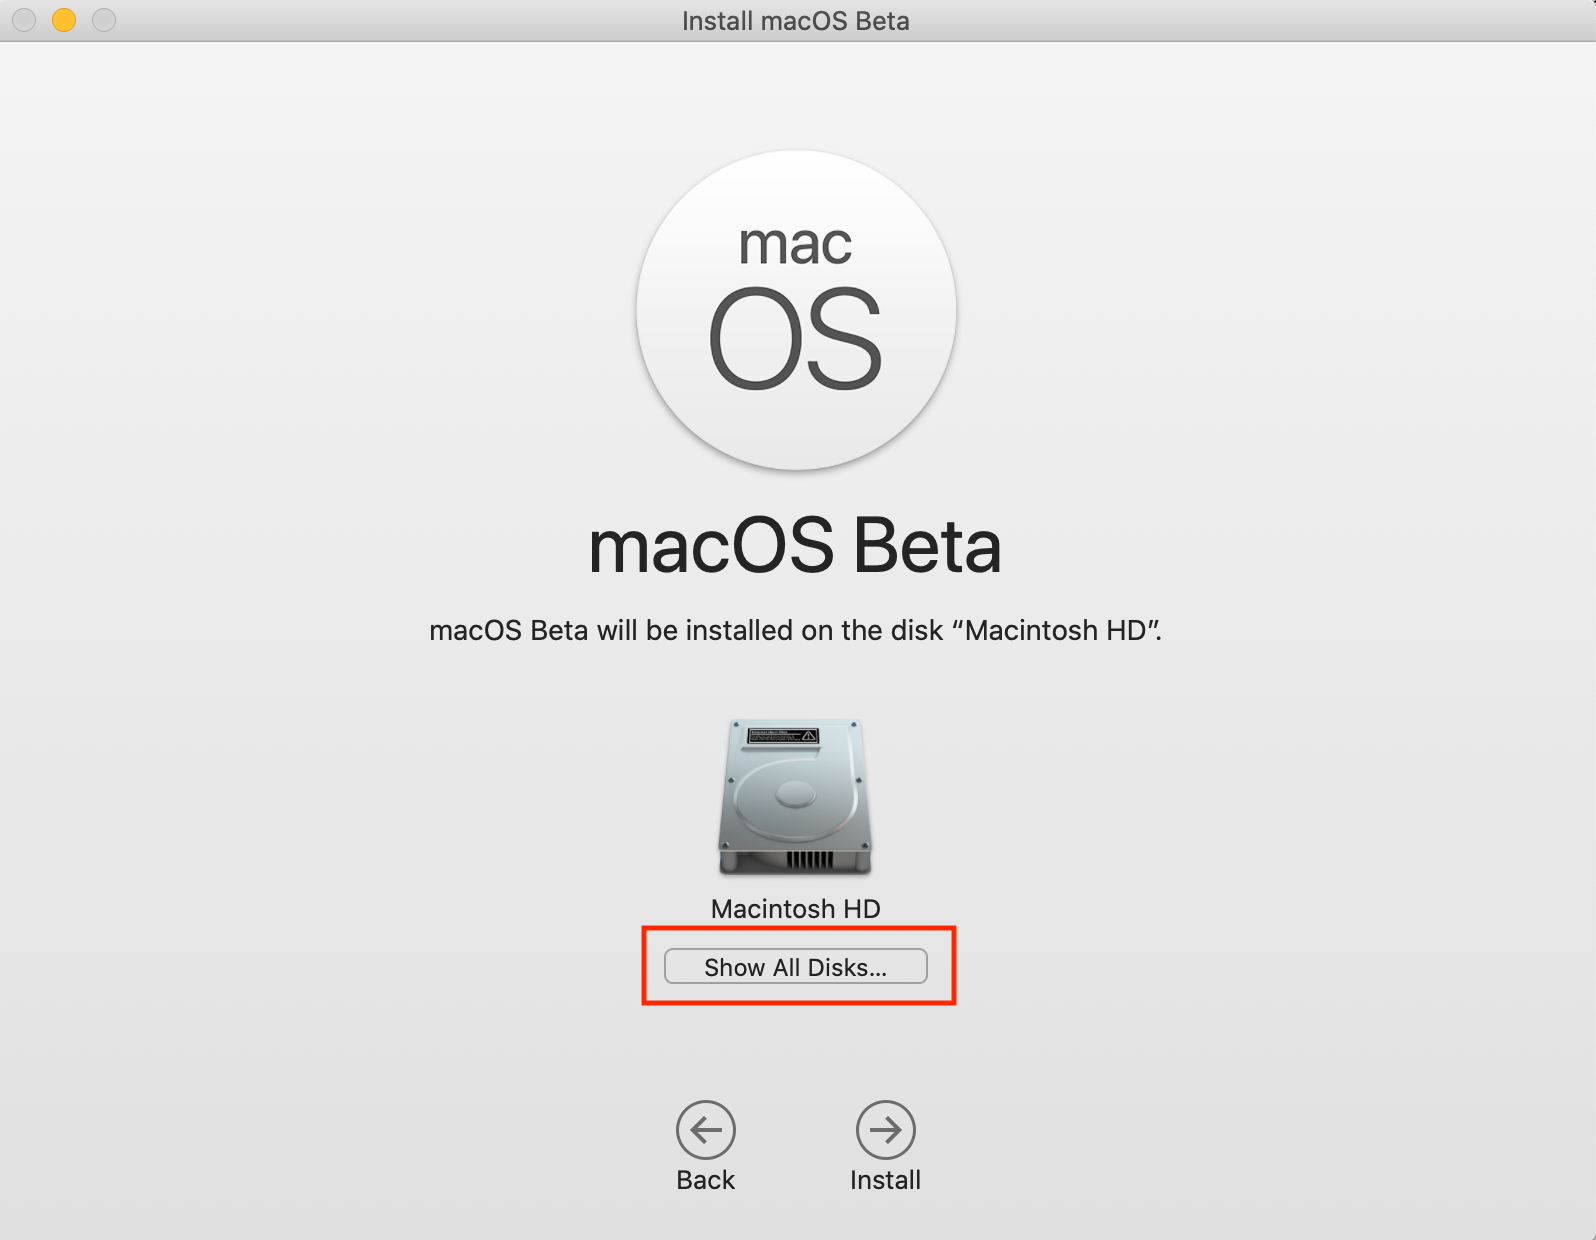
Step 1
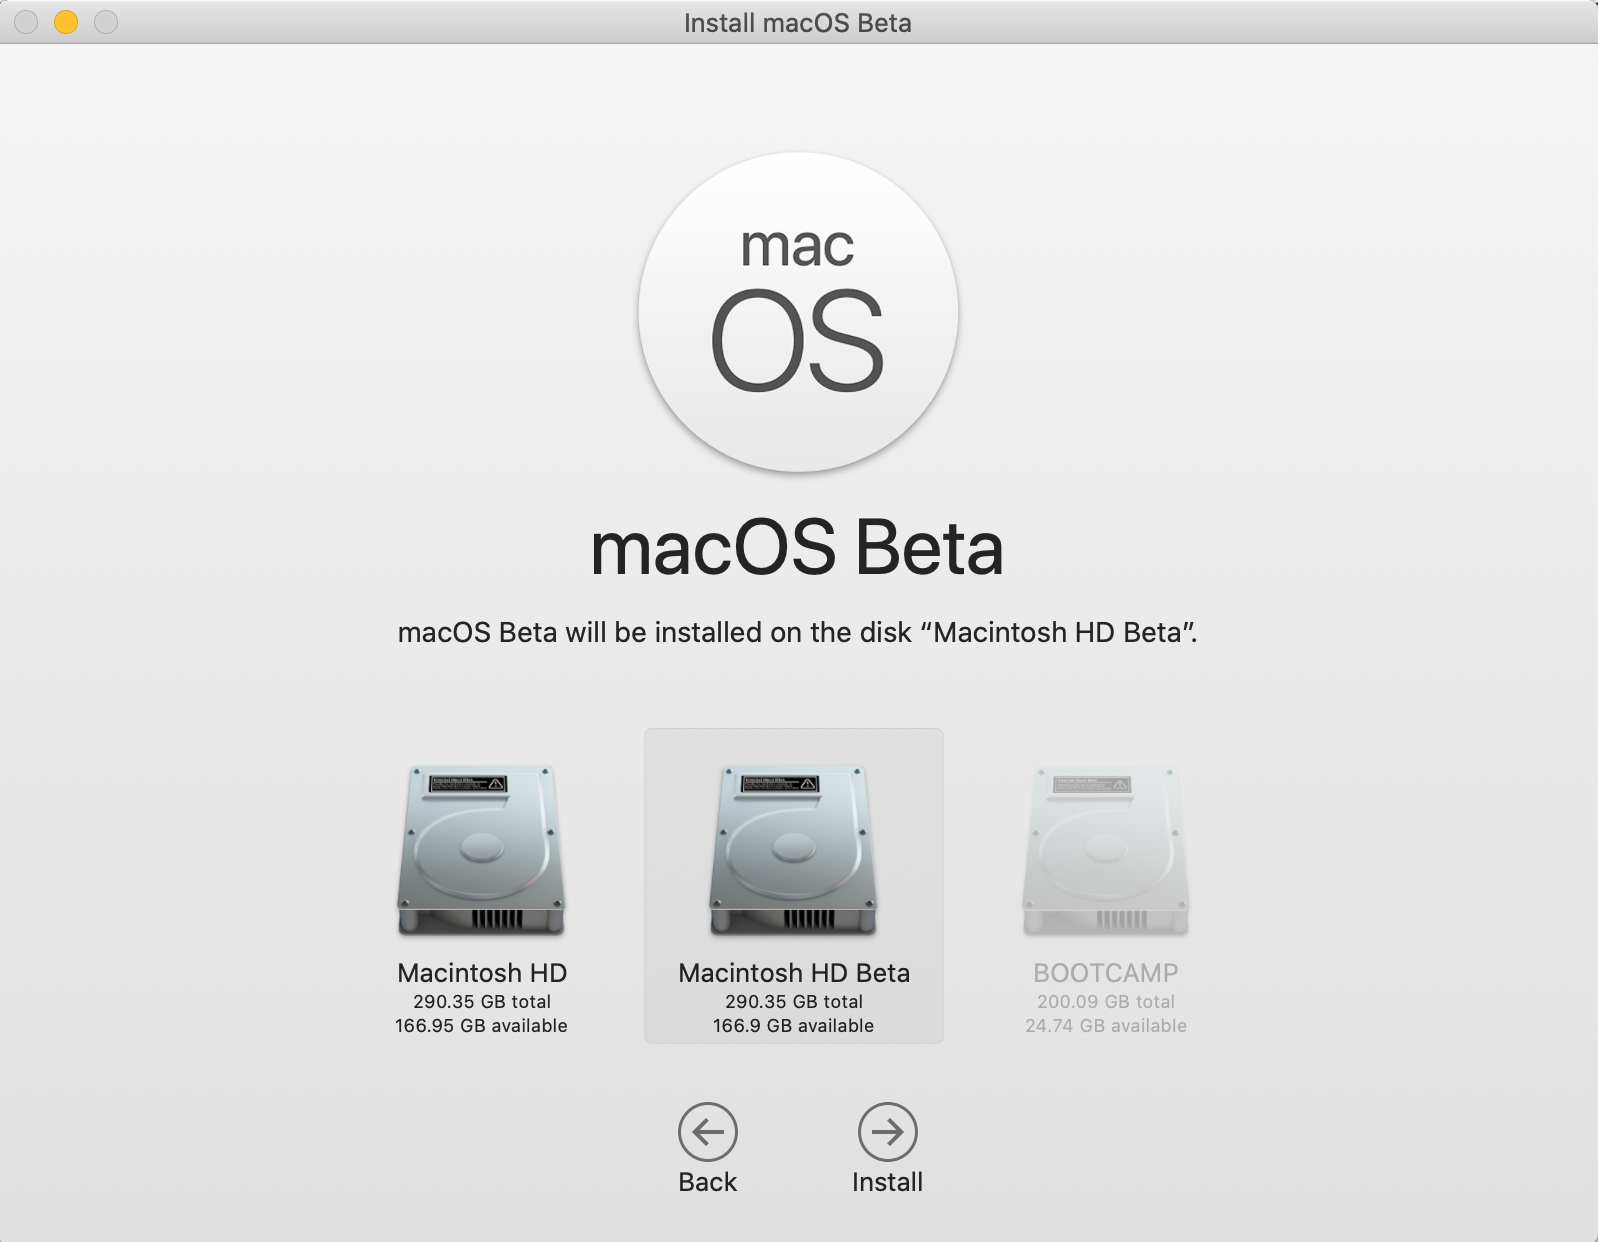
Step 2
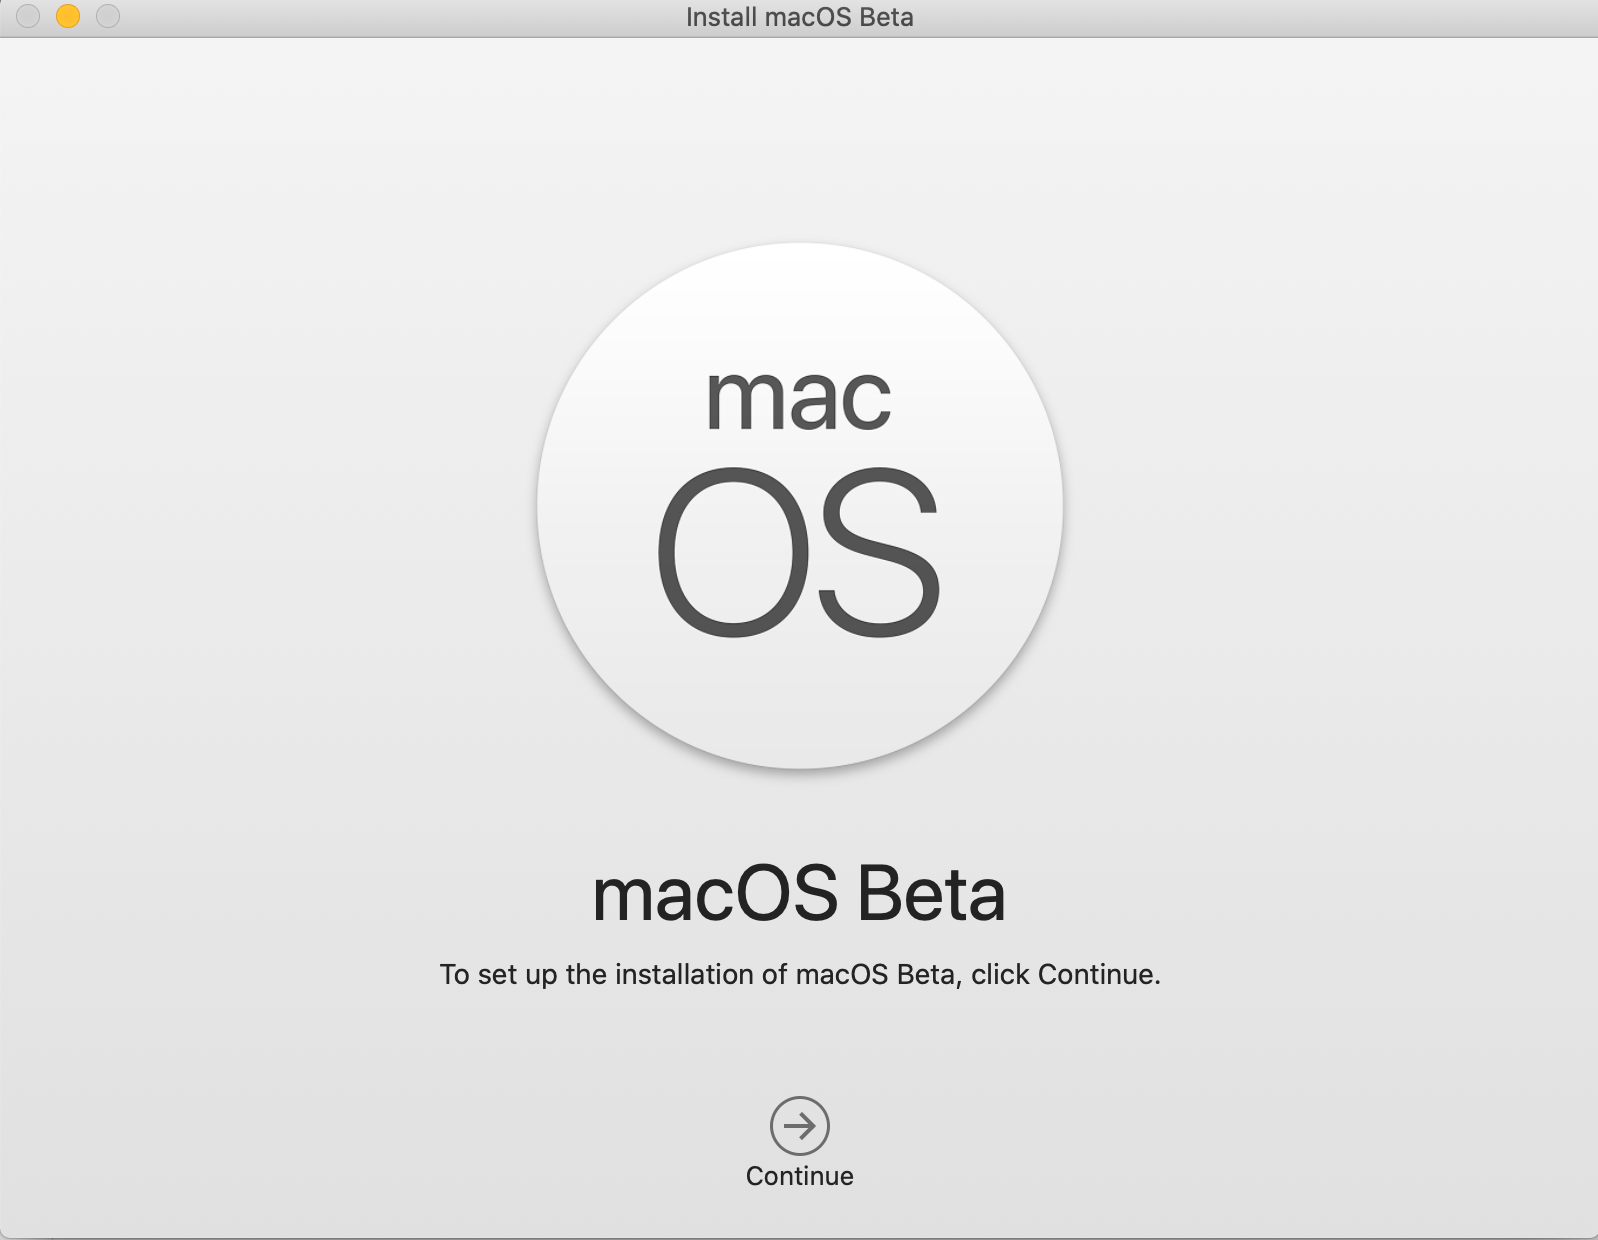
Step 3
That‘s it! Once the installation process is complete, you’ll be able to run Big Sur on the new partition.
Booting into macOS Big Sur
To boot to your new partition, perform the following steps:
- Shut down your Mac
- Press and hold the option key while powering up
- Select the partition you want to boot from
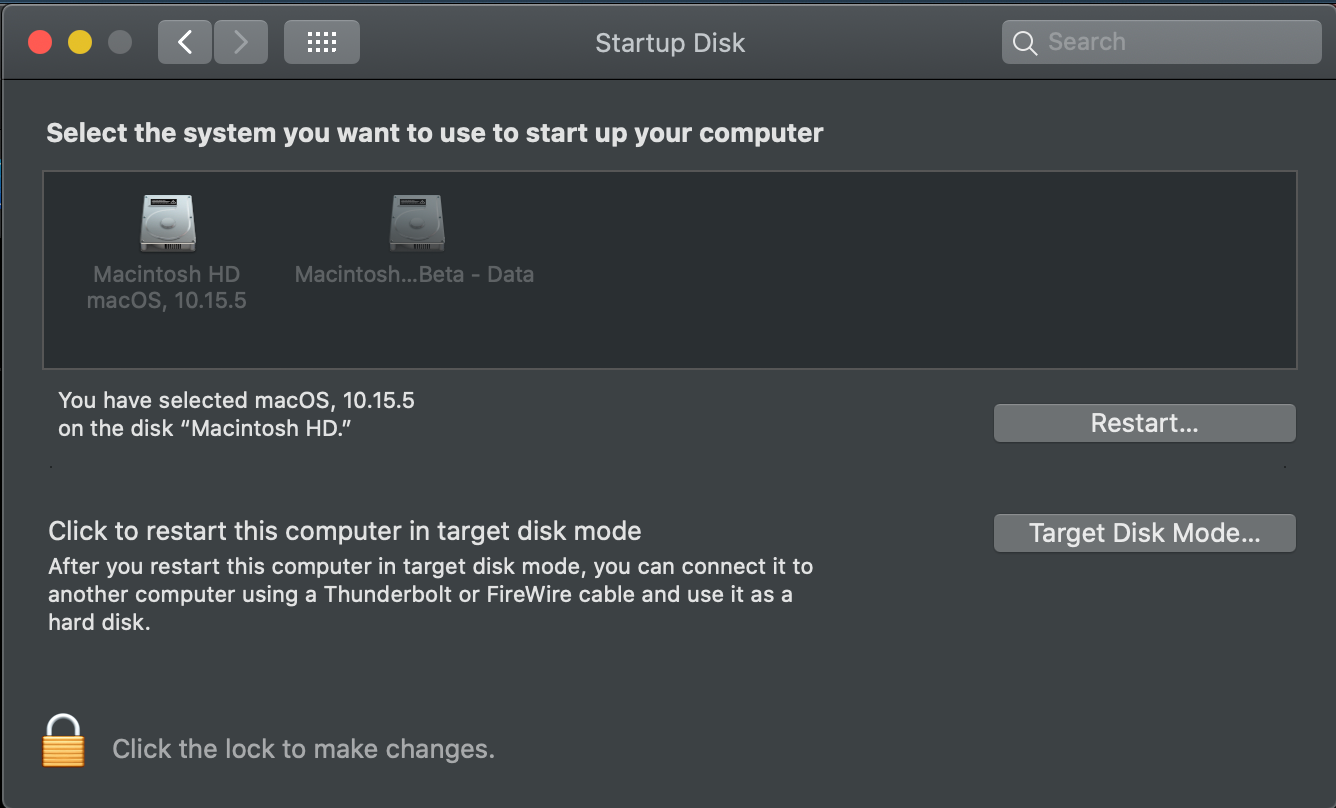
If you want to automatically boot into your new macOS Big Sur installation, you can set this in System Preferences via the Startup Disk. Once this is set, your Mac will automatically boot into whichever option you selected when you restart.
When you switch back to your Catalina partition, you may see an “Incompatible Disk” alert that looks like this. All it means is that your Catalina partition is seeing the Big Sur partition and doesn‘t understand it. It won’t cause problems for either OS.
Removing the beta profile
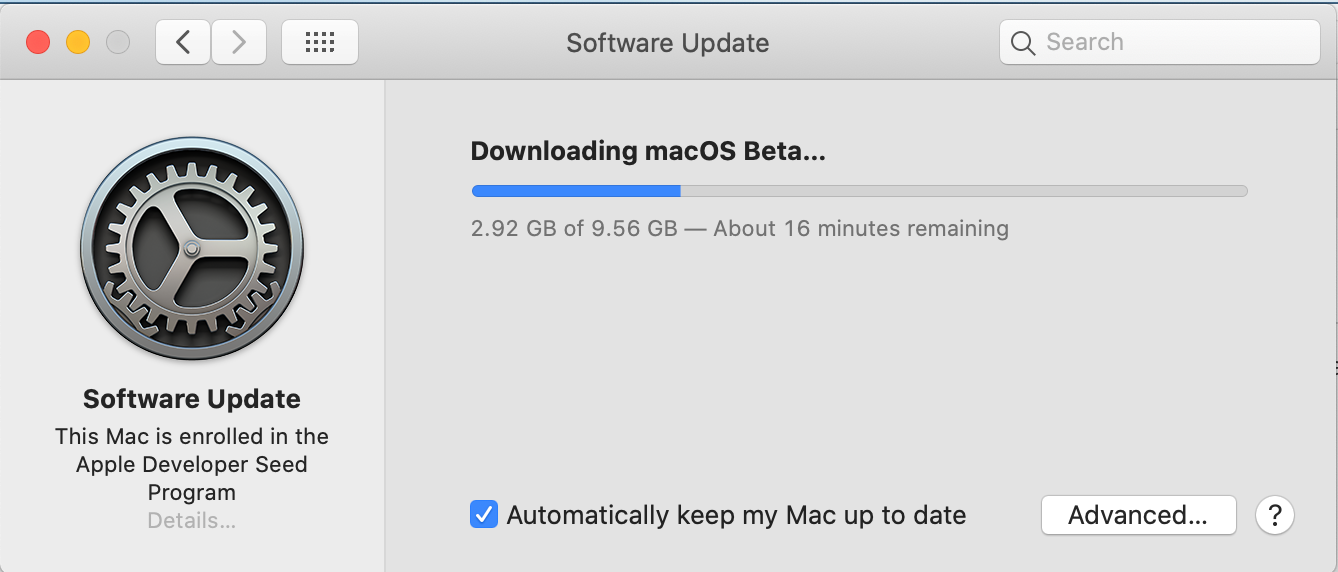
Once you‘ve installed the beta profile to download the OS, you probably don’t need it on your main machine anymore. To remove the profile, perform the following steps:
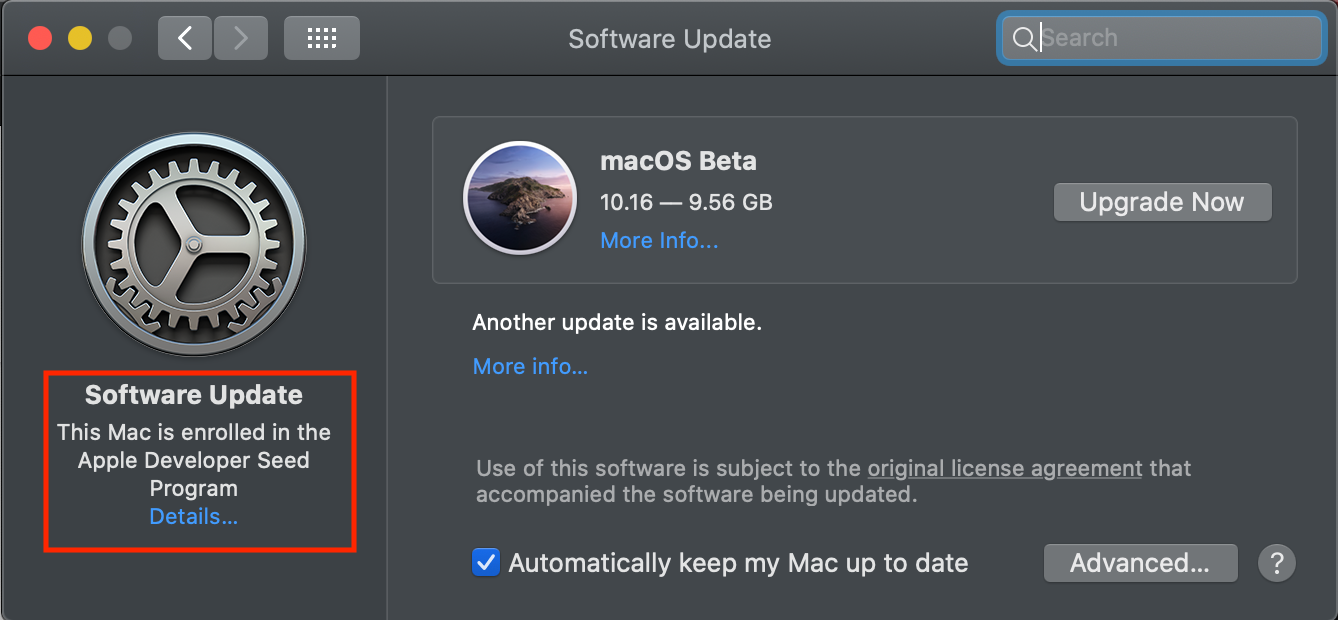
- Go into System Preferences and select Software Update
- From there select details underneath the Software Update
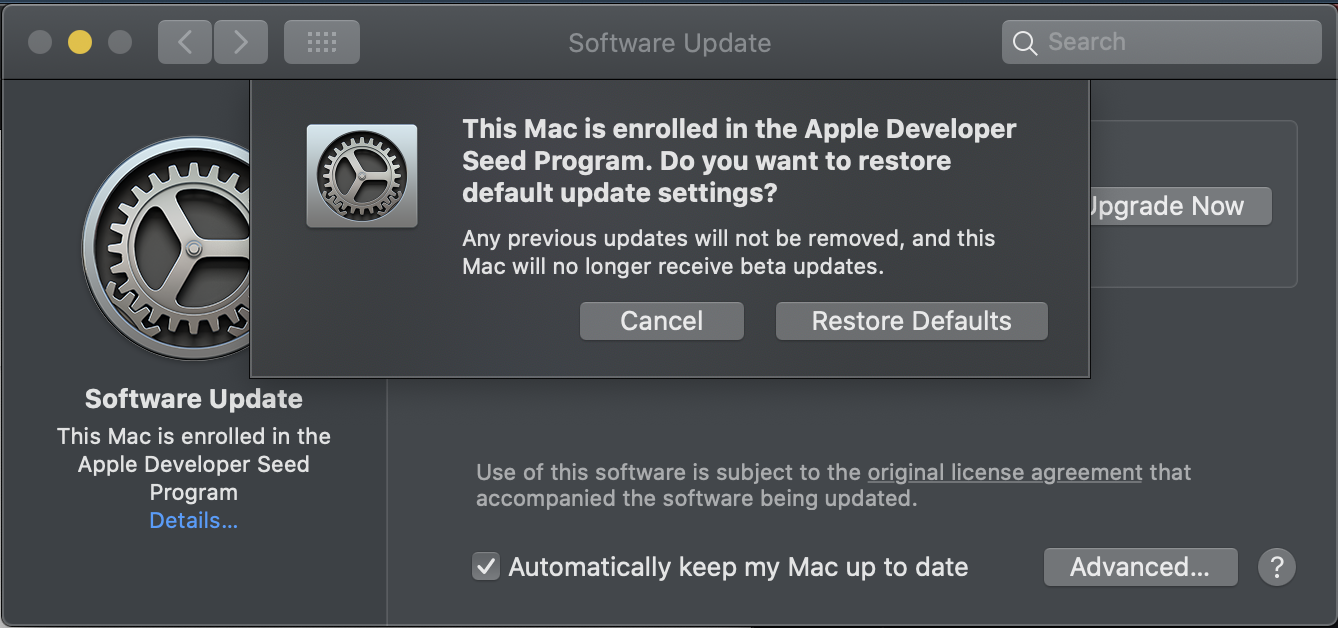
- Once selected, you‘ll be able to select Restore Defaults, which will restore your computer‘s regular update cycle. When you want to install new beta updates, you can do that from your new Big Sur volume instead.
Summary
That wraps it up! At this point, you should have everything necessary to play around with the beta while maintaining the normal state of your machine.
If you‘d like to see a quick video of the whole process, check it out below!
And if you‘re interested in building some Mac apps, get in touch! We‘d be happy to help.