In-App Purchases with RevenueCat on visionOS
A step-by-step guide

With Apple introducing Apple Vision Pro at WWDC 2023, we’ve been incredibly excited to start building apps in a brand new paradigm: spatial computing. While we’ve been having fun putting the simulator through its paces building visionOS apps, we’ve also been thinking about how to monetize our apps to make them sustainable in the future. However, while there are plenty of available resources on RealityKit, Reality Composer Pro, and many of the technical aspects of building a visionOS app for Vision Pro, there are few on how purchases work or what they even look like!
When it comes to offering in-app purchases, our team loves using RevenueCat, which is the best platform for purchases and subscriptions across mobile and the web. They integrate well with Apple platforms, with native SDKs for each platform, and visionOS is no exception. For this process, we’ll be setting up a super simple in-app purchase on RevenueCat, integrating their SDK, and showing the product to the user for purchase on the visionOS simulator. If you’ve already got your app set up on RevenueCat, feel free to skip down to the integration. Now, let’s immerse ourselves. 🥽
RevenueCat Setup
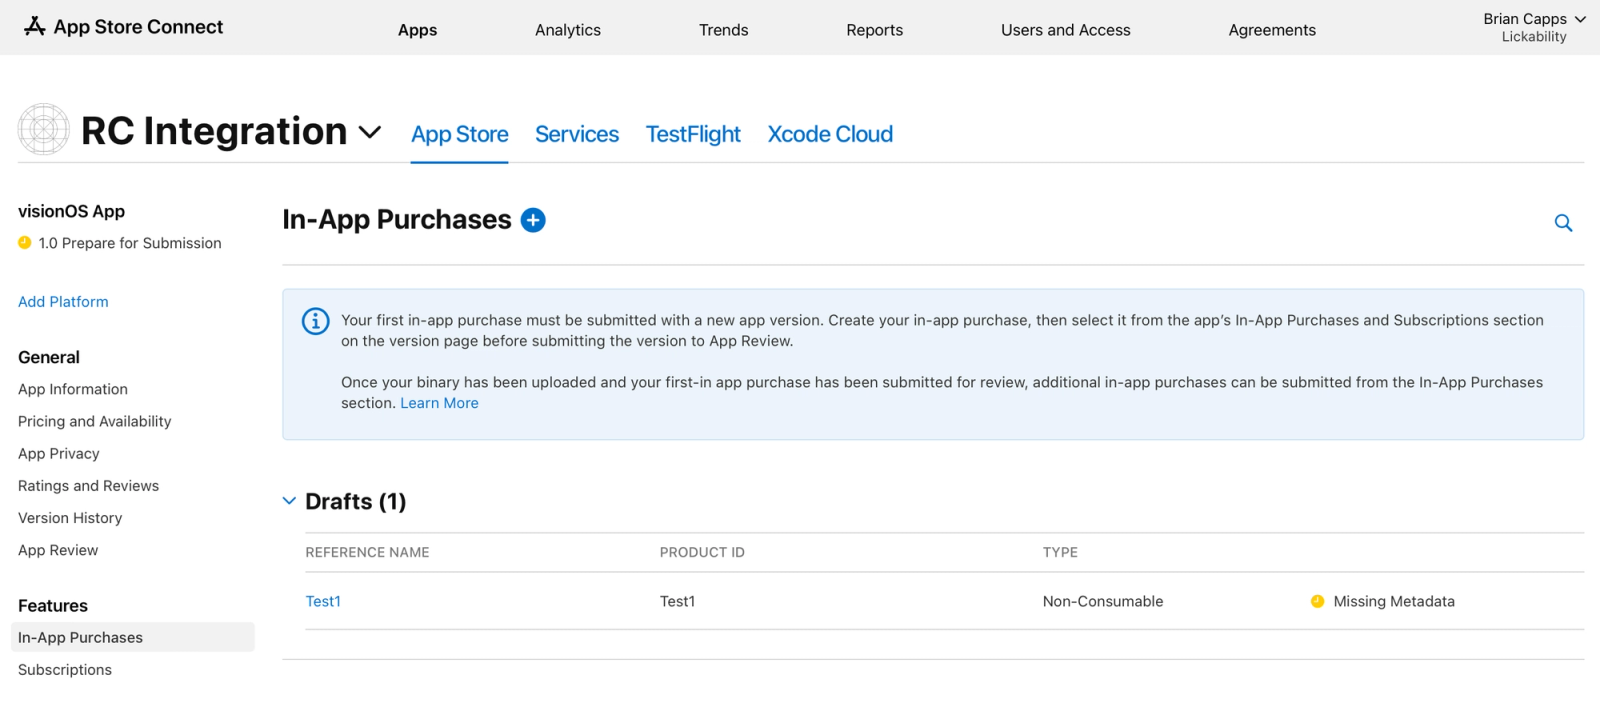
First, we’ll want to set up our purchase in App Store Connect and associate it with our app on the RevenueCat website. For this post, we made a brand new app and added a brand new in-app purchase product in App Store Connect:
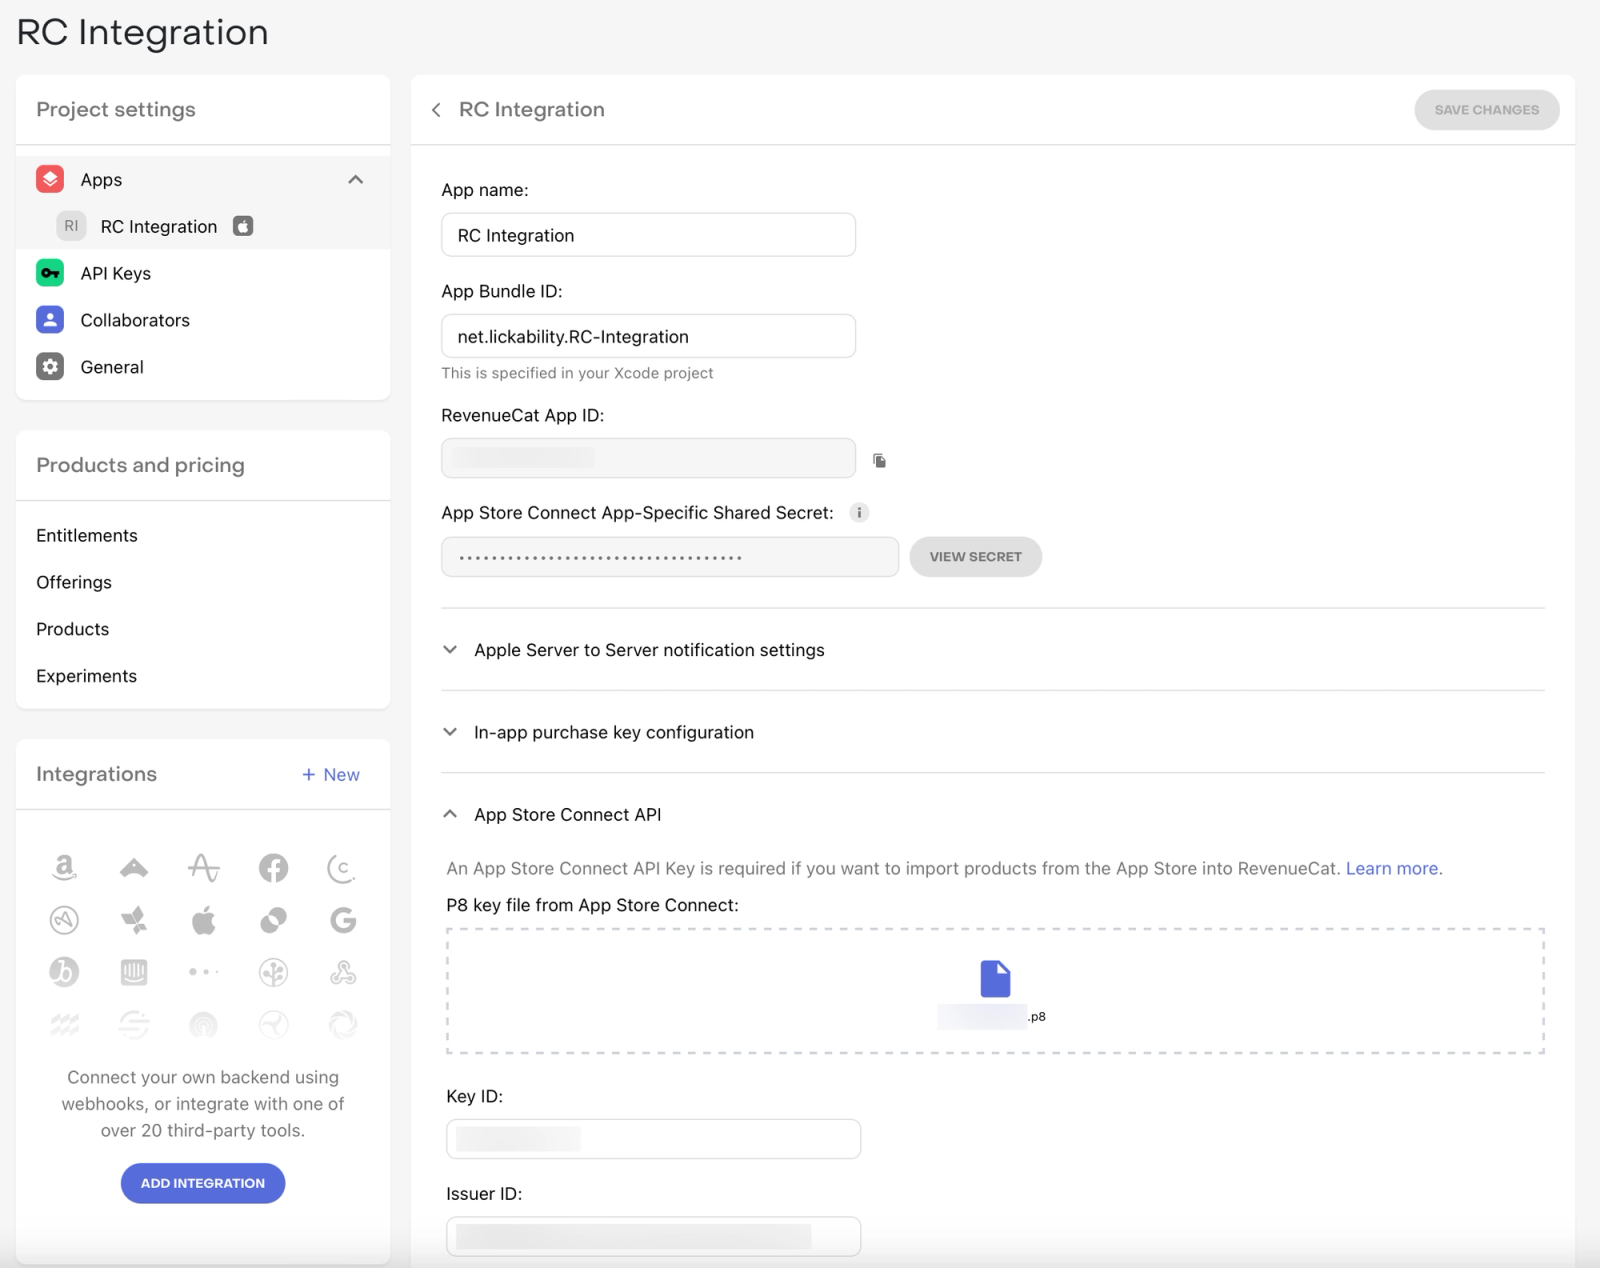
Next, you’ll connect this product to RevenueCat. After signing up for or logging into an account on their website, create a new project or use an existing one. Add your App Store app with an app name and bundle ID, and then scroll down and add your App Store Connect API Key using RevenueCat’s instructions.
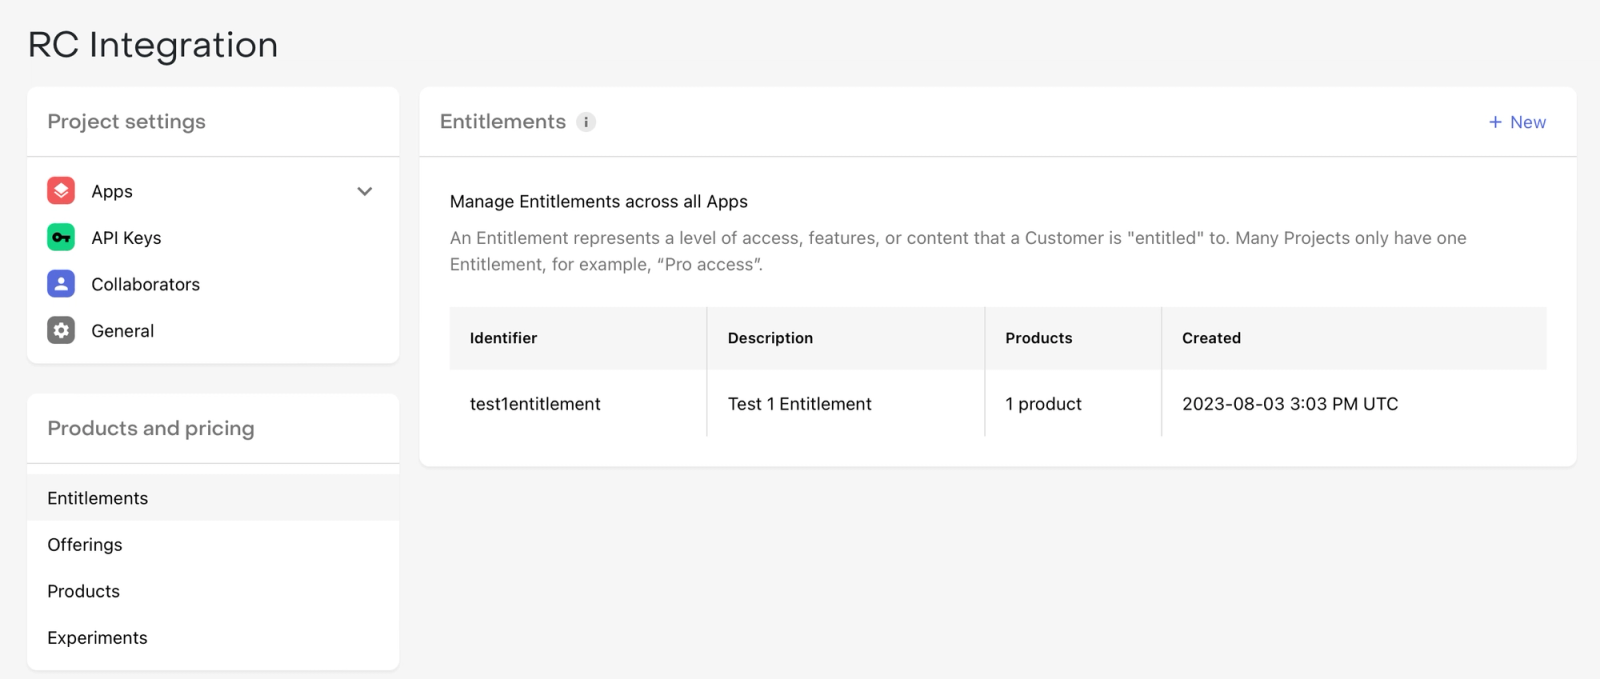
With this set up, it’s time to associate our Apple in-app purchase with RevenueCat’s notions of products and pricing. Go to Entitlements and add a new one with an ID and a name. Click into the new entitlement and select Attach. Select “Add a new product,” choose “Import Products,” and you’ll see that the Apple in-app purchase product can be automatically pulled in for you! Attach this product to the entitlement, and you should now have both a product and an entitlement for the purchase.
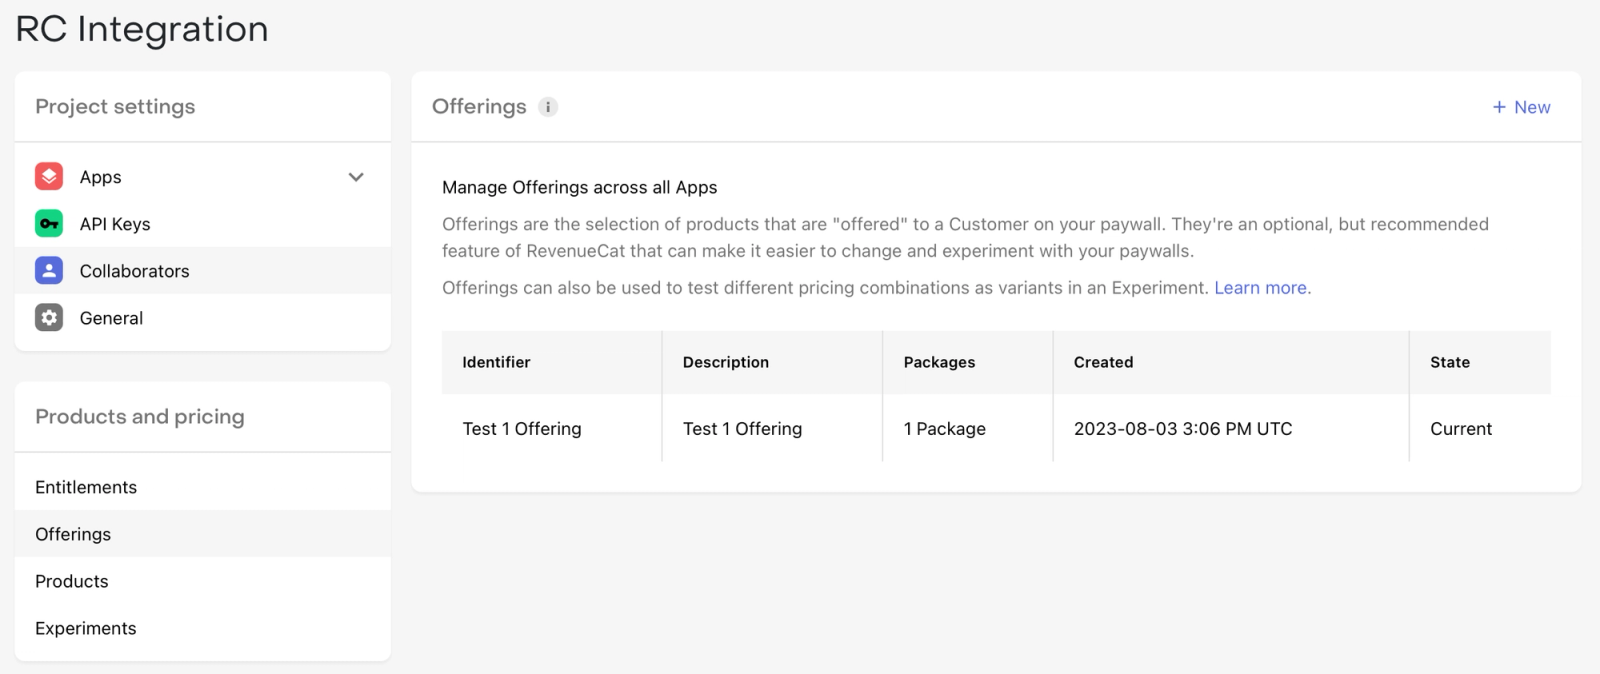
We’ll take one more step to allow RevenueCat to fetch all of our products for us, so we don’t have to hardcode any of their information into our app. We’ll set up a RevenueCat offering, which represents a selection of products offered to the customer on your paywall, by creating a new one with an identifier and description. Click into the newly created offering and add a package with an identifier and description, and then click into that to attach a product. Once that’s done, we’ve got a single offering with a single product, and we are ready to integrate into visionOS.
visionOS Integration
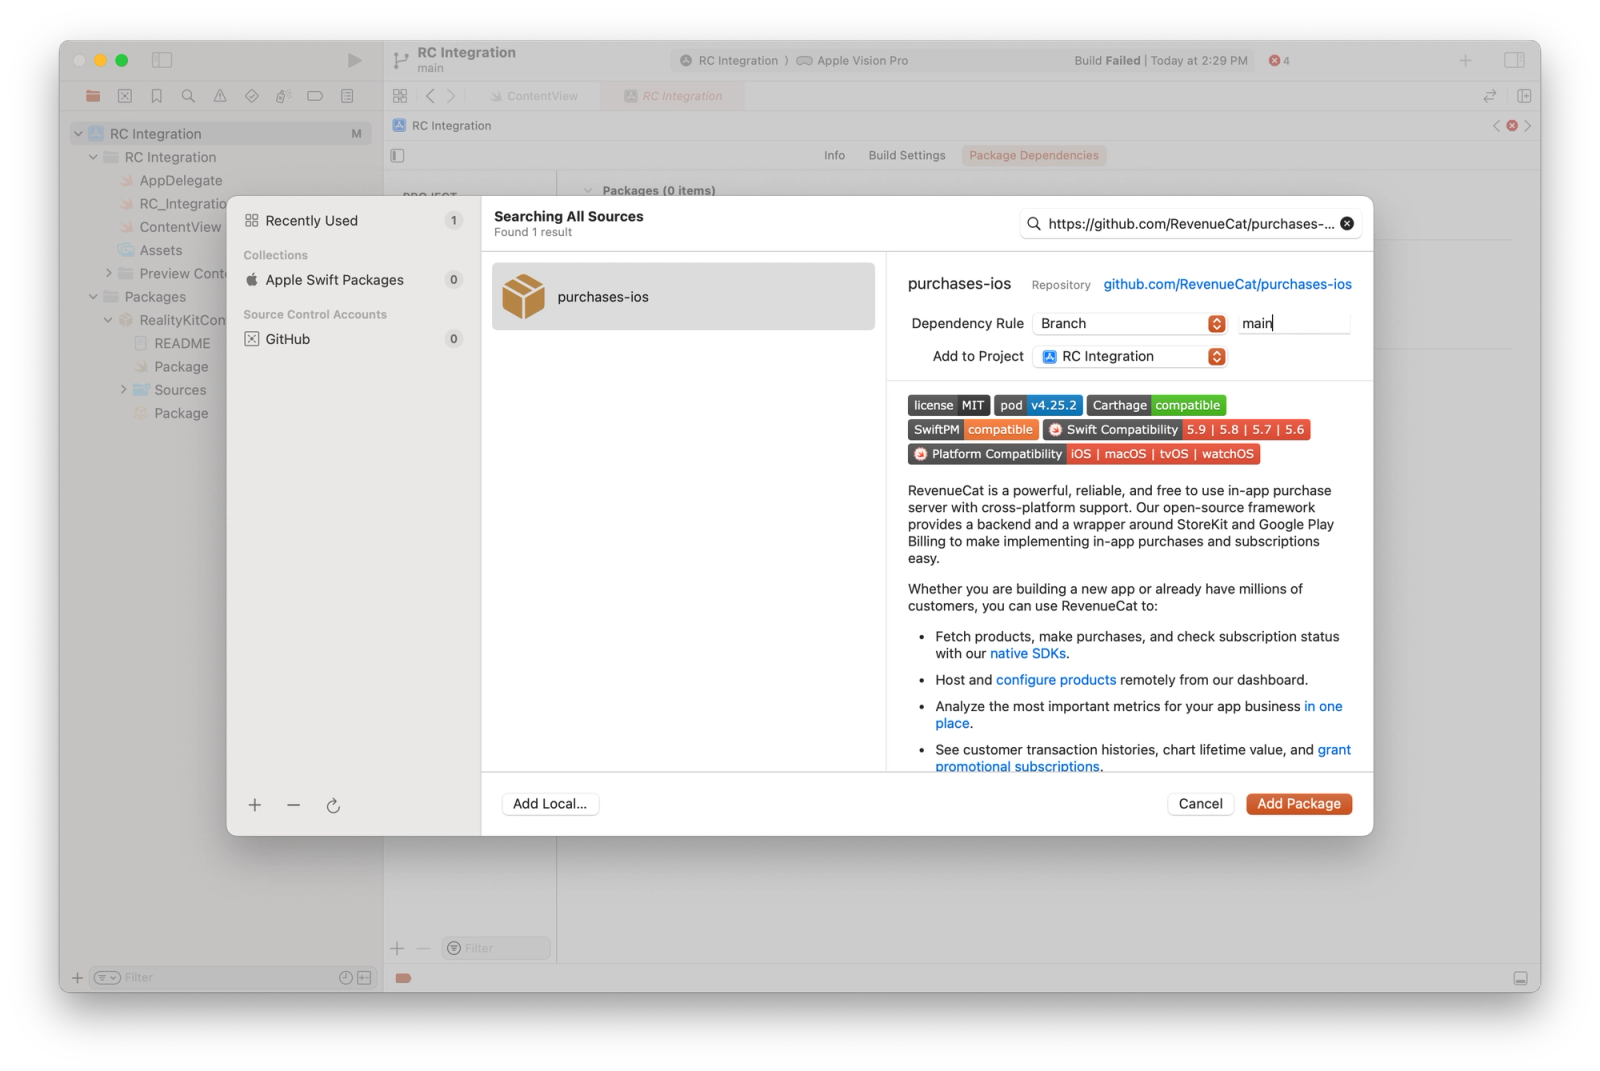
With our project and offerings set up in RevenueCat, we can now integrate the SDK with our visionOS app. To bring the SDK into our app on Xcode 15 (beta 6, as of this writing), we’ll use Swift Package Manager and point it at the main branch to make sure we have the latest updates while in beta.
Now, we can call import RevenueCat to use the SDK! Let’s do so, and then make a super simple loader for the in-app purchase products from RevenueCat that we’ll use in our SwiftUI view. To do that, we’ll make an @Observable class called ProductLoader, and we’ll call out to RevenueCat to load the offerings that we just set up. Once they are loaded, we’ll get the associated product IDs and store them in a property for later use:
@Observable
final class ProductLoader {
    private(set) var identifiers: [Product.ID] = []

    @MainActor
    func loadProducts() async {
        do {
            let offerings = try await Purchases.shared.offerings()
            let productIDs = offerings.current?.availablePackages.map { package in
                return package.storeProduct.productIdentifier
            }
            self.identifiers = productIDs ?? []
        } catch {
            // Handle errors
        }
    }
}
Finally, we’ll add this loader as a @State property to our view, and we’ll show the new StoreView from Apple with the loaded product IDs when the user taps a button:
struct ContentView: View {
    @State private var isPresentingStore = false
    @State private var productLoader = ProductLoader()

    var body: some View {
        NavigationSplitView {
            List {
                Text("Item")
            }
            .navigationTitle("Sidebar")
        } detail: {
            VStack {
                Text("Hello, world!")

                Button {
                    isPresentingStore = true
                } label: {
                    Text("Show In-App Purchases")
                }
                .disabled(productLoader.identifiers.isEmpty)
            }
            .navigationTitle("Content")
            .padding()
        }
        .task {
            await productLoader.loadProducts()
        }
        .sheet(isPresented: $isPresentingStore) {
            StoreView(ids: productLoader.identifiers)
                .frame(alignment: .front)
        }
    }
}
And there you have it! Running this code, we’re now dynamically loading our available products, showing them using Apple’s StoreView on visionOS, and enabling RevenueCat features such as analytics, A/B testing, and cross platform compatibility.