Swift on Raspberry Pi
Controlling hardware is easy as Pi
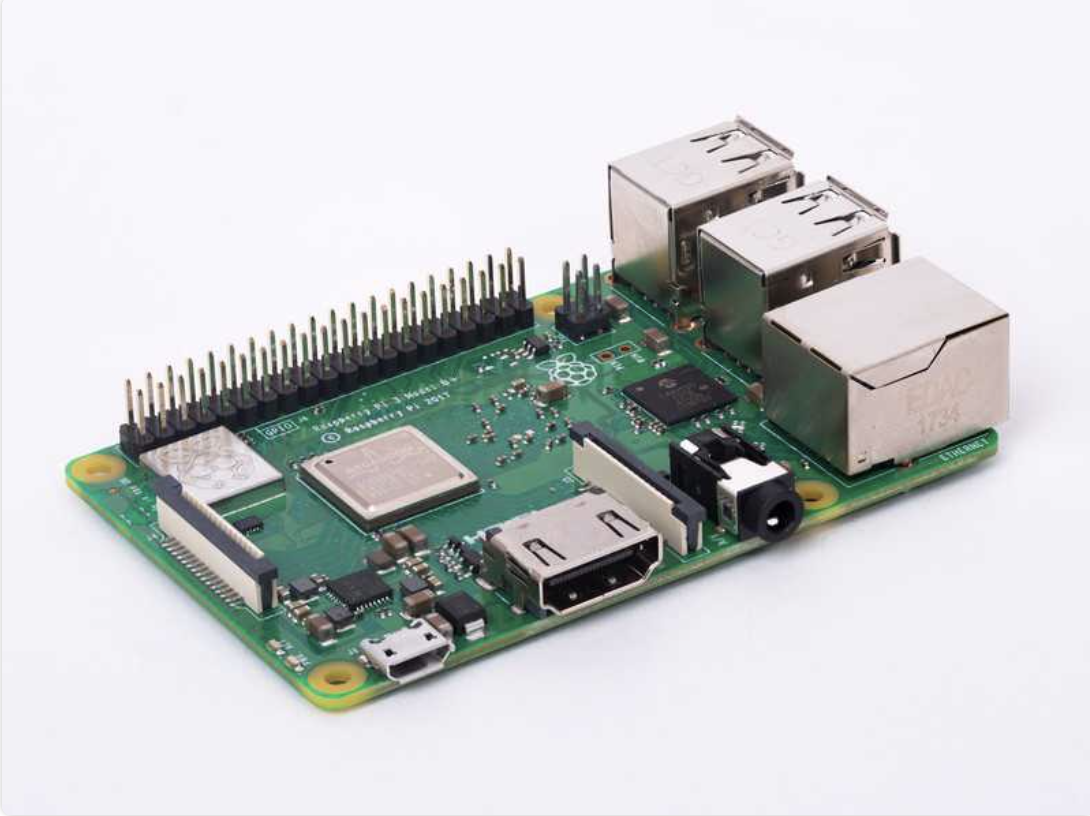
Raspberry Pi is a small, cost-effective, single-board computer with potential only limited by its computing power. It is also well-known by hobbyists and technologists alike. It’s the perfect device for those looking to experiment with an idea or test the validity of a concept. It can fit almost anywhere and be used for a variety of projects — it can be mounted on the back of a monitor and used as a desktop computer, or connected to a breadboard to control an electronic circuit.
The official programming language of Raspberry Pi is Python. While Python is fairly easy to pick up, it lacks features like type safety and has high memory consumption. Swift, on the other hand, has memory management through ARC, and is over 8x faster. Since Raspberry Pi is limited in RAM and CPU power, using a language like Swift is perfect for maximizing the potential of the hardware. Understanding how hardware and software work together is crucial for determining the efficiency of your next project. In this guide, we’ll cover the basics of getting started with Swift on Raspberry Pi.
Hardware vs. software
When it comes to the devices we rely on every day, there are usually two components: the hardware and the software. Hardware is the physical object we interact with, and software is what controls that hardware’s behavior.
Let’s use the iPhone as an example. The hardware includes things like the GPS, Bluetooth, OLED screen, gyroscope, camera, and more. But in order to interact with that hardware, we need software — in this case, iOS. And as a layer on top of that operating system, we have the Swift programming language, which allows developers to create applications that run within the operating system to control the hardware.
On Raspberry Pi, hardware like a camera or GPS is attached separately via chips or electrical components. In order to control these components, we can install libraries that support that hardware. A majority of the available components can be controlled via libraries written in Swift. We’re going to explore how to set up Swift on a Raspberry Pi to control those components.
Installing an OS
Before we can install Swift on Raspberry Pi, we first need to pick an operating system. There are several third-party options to choose from, but the most common choice is Raspbian, the officially supported OS of Raspberry Pi. There are multiple ways to install Raspbian onto an SD card — we’re going to use balenaEtcher. Here are the steps:
- Download the latest Raspbian OS here.
- Format your SD card to MS-DOS (FAT) using Disk Utility.
- Use balenaEtcher to flash the Raspbian OS to your freshly formatted SD card.

Step two: format your SD card to MS-DOS (FAT) using Disk Utility
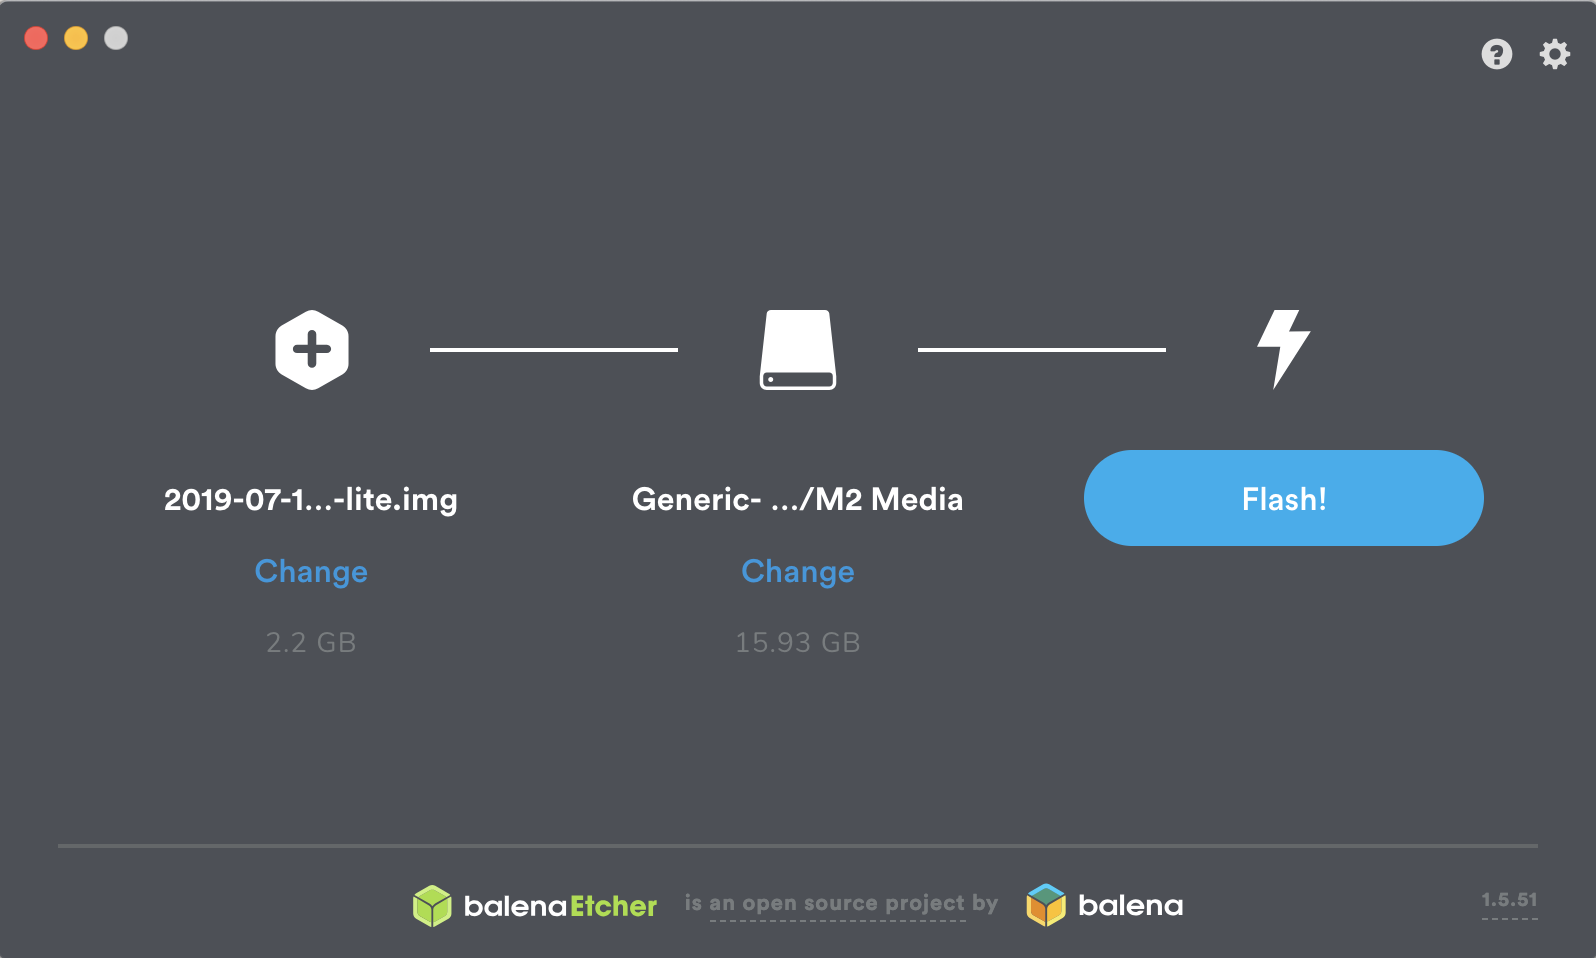
Step three: Use balenaEtcher to flash the Raspbian OS to your freshly formatted SD card.
Setting up Raspberry Pi
You’re halfway there! 🎉 Now that we have an SD card with the operating system we want to use, we need to make use of it with Raspberry Pi. Here’s where things get a little bit tricky.
There are two ways to set up Raspberry Pi:
- Use an attached monitor, keyboard, and mouse.
- Headless configuration via SSH or USB Console cable — the term “headless” refers to the lack of an attached monitor (the “head”), wherein the Pi can be controlled by another computer.
If this is your first time tinkering with the Pi, I recommend the first option. Once you’ve inserted your SD card with Raspbian OS into the Pi, plug in your HDMI cable, keyboard, mouse, and power cable.
The Pi should now boot to the Raspbian desktop. Congrats! Now you can take some time to explore the desktop and see what it can do.
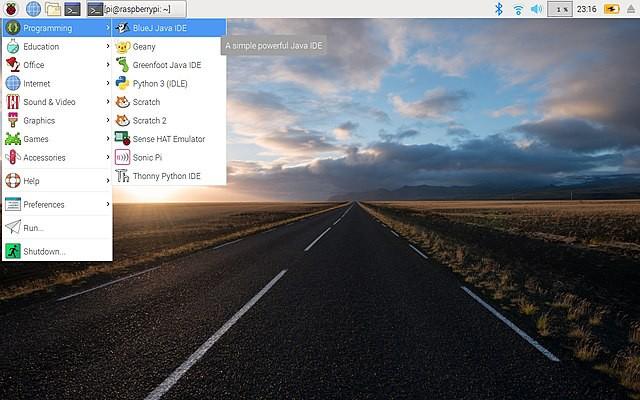
The Raspbian desktop
Installing Swift
To install Swift on our Pi, we need to connect it to the internet (either via ethernet or Wi-Fi, depending on the model of your Pi). Once you’re online, you’re ready to start the process of installing Swift.
There are 2 ways to install Swift. You can either build Swift yourself or use pre-compiled binaries. I would highly recommend option 2 because the first option will take several days to do on a Raspberry PI. The precompiled binaries are possible because of the Swift-ARM group. They have put together a repository that allows you to install Swift using the Advanced Package Tool or apt for short.
This command-line tool is kind of like the App Store for applications and packages on linux machines. We use apt by typing apt-get in the terminal, which is usually followed by a series of commands telling the tool what to do. In our case, we want to install Swift 5.0.2. For a list of all of the available Swift packages check here.
So, lets get started! Now that we know we want to install Swift via apt, lets add the swift-arm repo to our list of repositories.
Add/Install the swift-arm repo to our apt command-line tool.
curl -s <https://packagecloud.io/install/repositories/swift-arm/release/script.deb.sh> | sudo bash 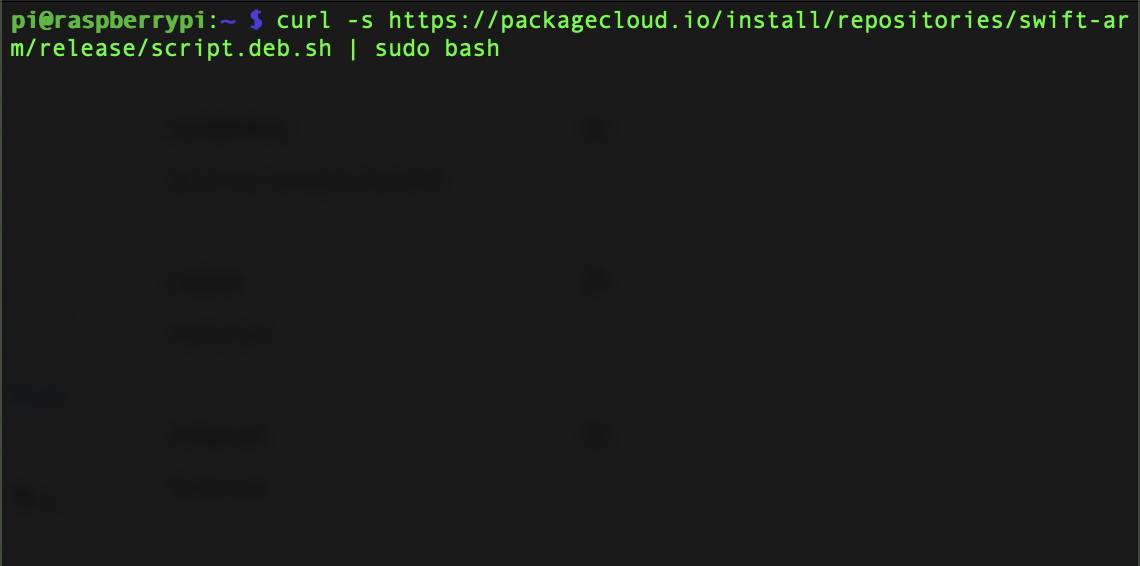
Use apt to install Swift from our freshly added repo from the line above.
sudo apt-get install swift5=5.0.2-v0.4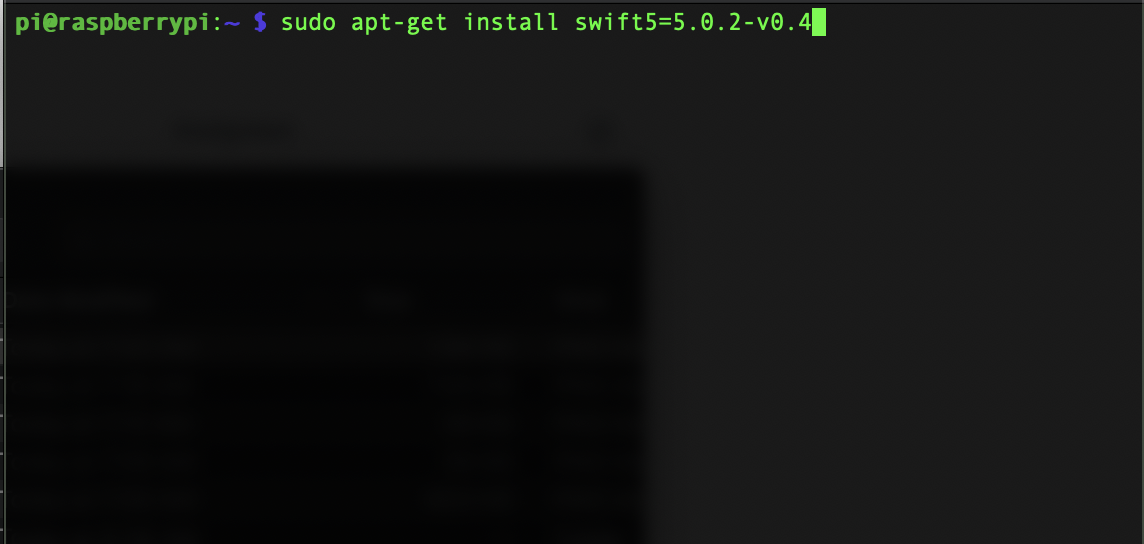
Thats it! You now have Swift installed on your Raspberry Pi.

Creating a test project
At the moment, the Swift REPL is not operational — but everything else works. To give it a test run, let’s create a quick Swift package using Swift Package Manager.
Create a new directory called MyFirstProject
mkdir MyFirstProject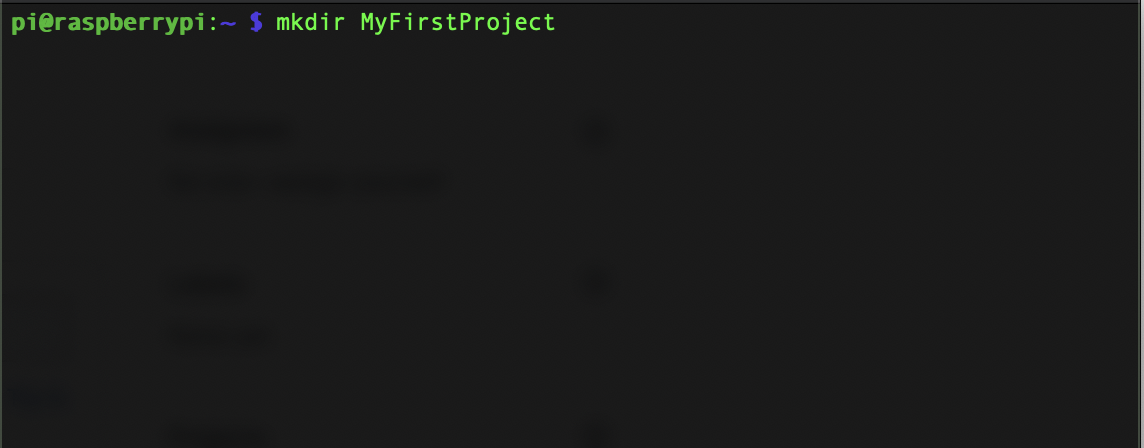
Change your working directory to be your newly created MyFirstProject directory
cd MyFirstProject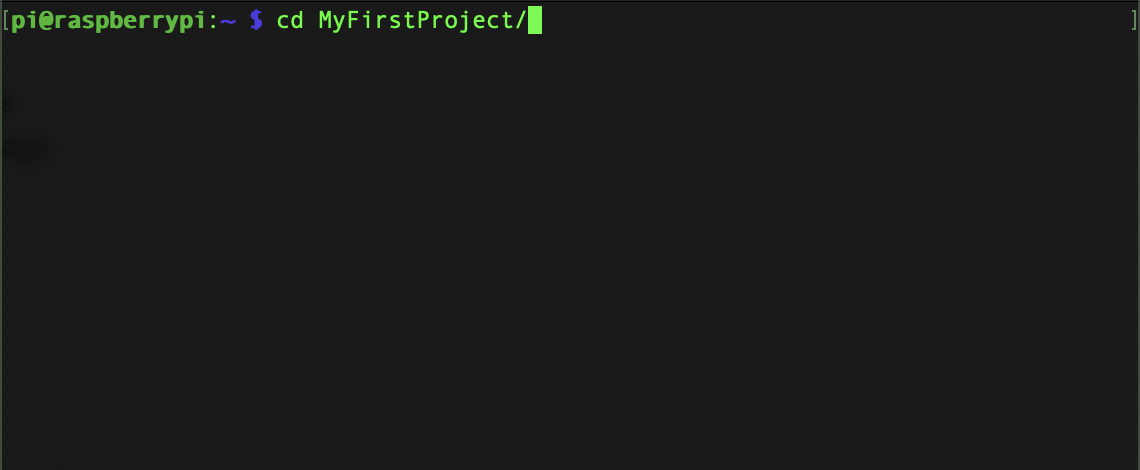
Create a new executable Swift Package
swift package init --type=executable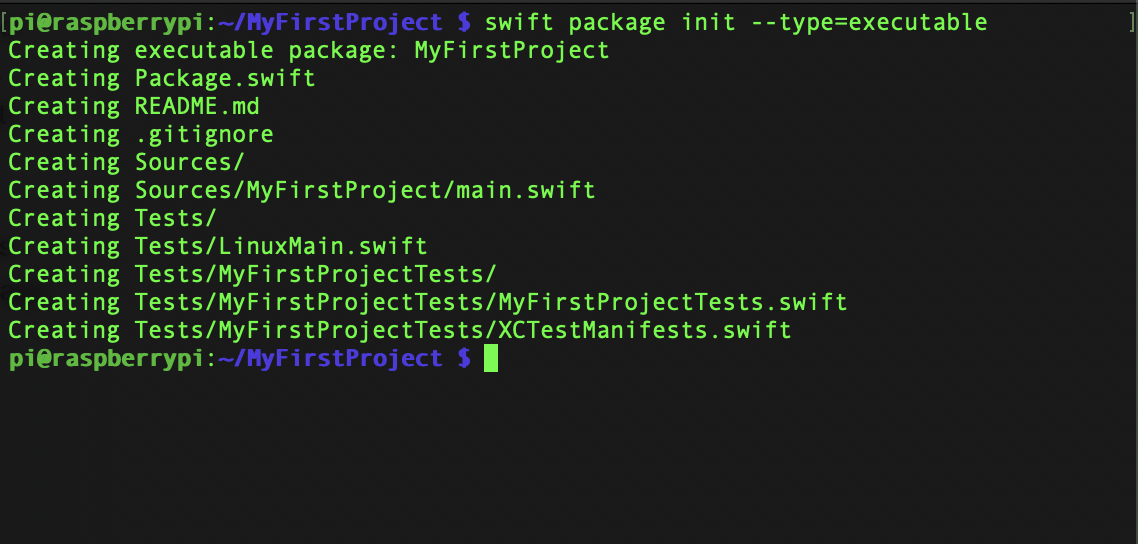
Those three lines create an empty Swift package called MyFirstProject. To run this project, type swift run.
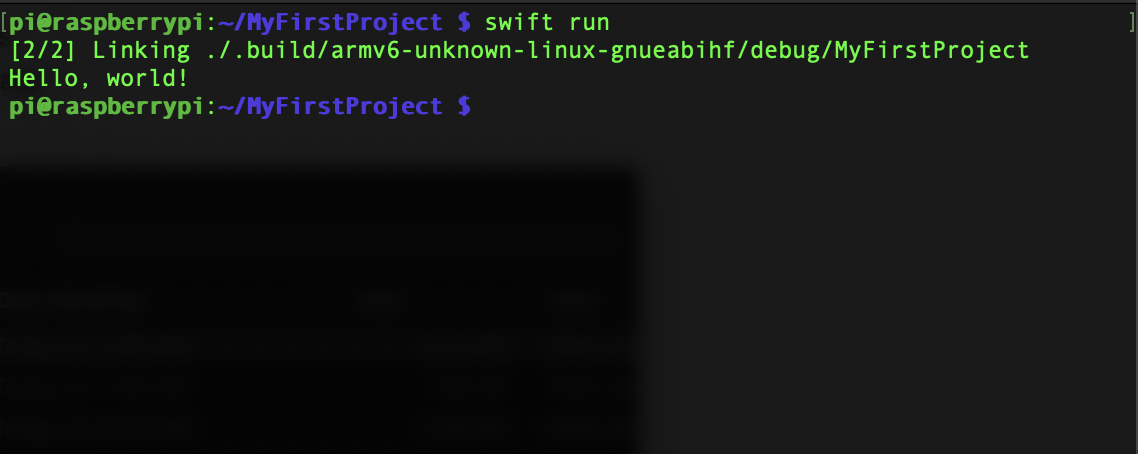
Once your project has finished compiling, you should see Hello, world! printed in the terminal.
Now that we’ve built our first program on the PI, lets make some small changes. From the MyFirstProject directory, we will need to make a change in our main.swift file. This is the code that is executed when we run our package via the command swift run.
Change your directory to the Sources/MyFirstProject directory
cd Sources/MyFirstProject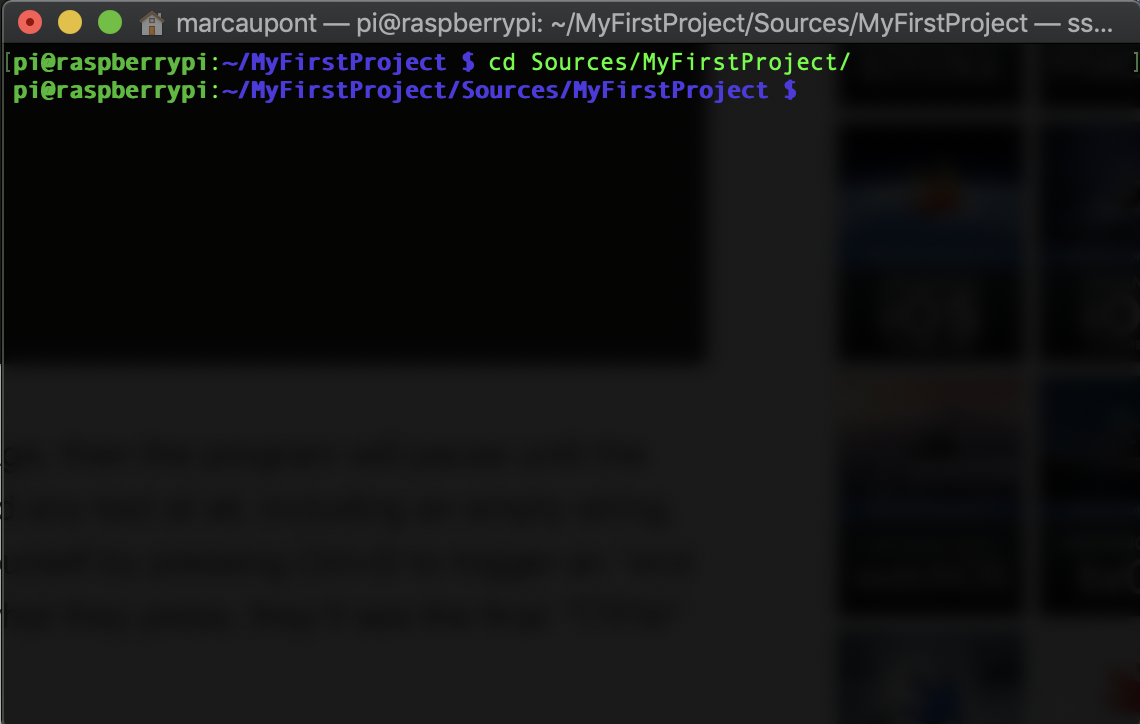
Edit your main.swift file using the built-in nano editor
nano main.swift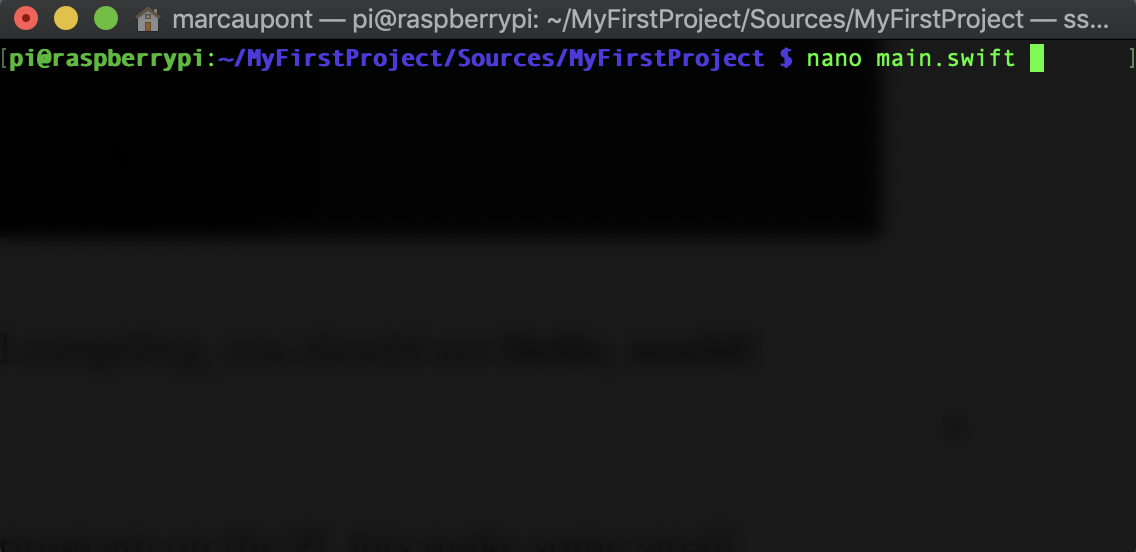
Once you’re in the nano editor, you’ll be able to edit your program to do as you please. Go ahead and replace the contents of your main.swift file with the following:
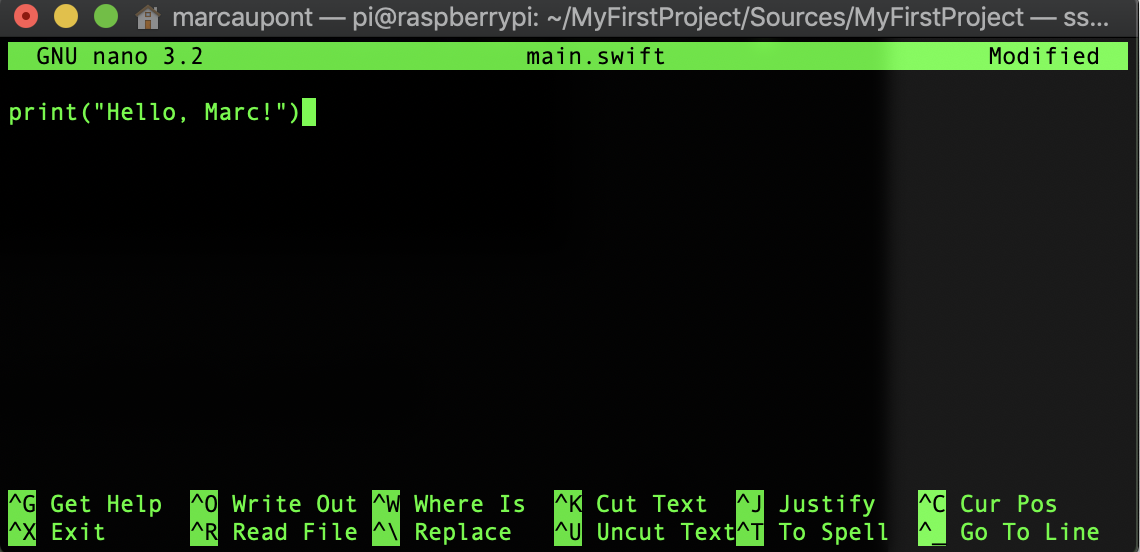
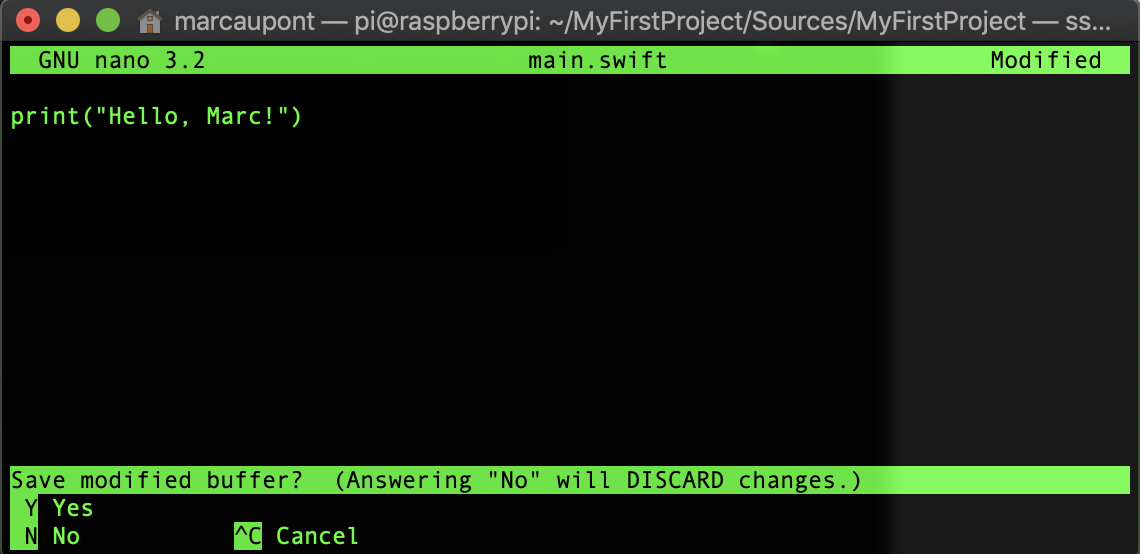
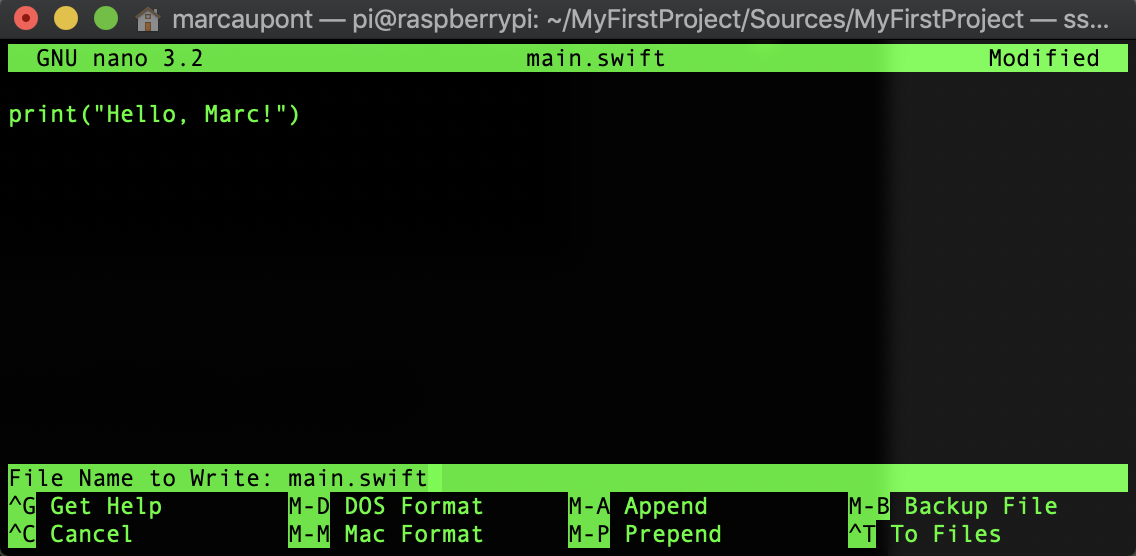
print("Hello, Marc!")Feel free to replace the name with your name. To save your changes perform the following:
- Press
CTRL + Xto save the file. - Confirm your changes by pressing the
Ykey. - Confirm that you want to make to changes to the
main.swiftfile by pressing theEnterkey.
We have now completed our changes and its time to re-run our program. Type the following into terminal window:
swift run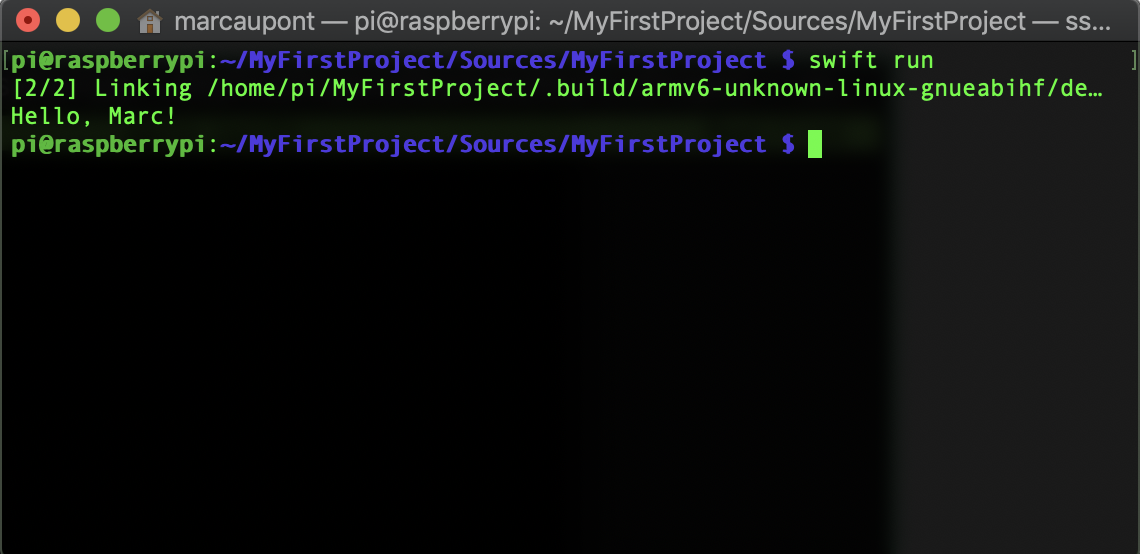
Congratulations! Once your code has compiled, the terminal should now display your recently modified string.
Now that Swift is installed, there’s so much more that you can do. To control hardware — like LEDs, motors, and relays — you can use the help of a library for hardware projects on Linux/ARM boards called SwiftyGPIO. Have fun experimenting with Swift on the Raspberry Pi!
And if you enjoyed this blog post, you might also enjoy my three-part series about using Swift on a Raspberry Pi to create a distance-measuring system for an autonomous car.